
The Details of Creating a Private Business Entrance in Our Historic Home Facade
We purchased our historic home with the plan to use the space for dual purposes; as our home, and as the new location for my interior design studio. Our circa 1905 brick row house had been sold by the original family owners in the 1960’s and subsequently converted for commercial use. Among other things, the building had been used as an Army Recruiting office and multiple professional offices before we purchased it in 2014 from an accounting firm that also sub-leased offices for local lawyers.

Original facade of 114 E Broad prior to painting and additional front door, circa 1968
We knew right from the beginning that we would need to make some adjustments to the interior and exterior to bring it up to code for a “mixed-use” occupancy. Besides applying for a variance from the city, which they granted with a few stipulations, (we’ll cover them in another blog) we carefully considered how to best create the required separate private entrance for the commercial space.

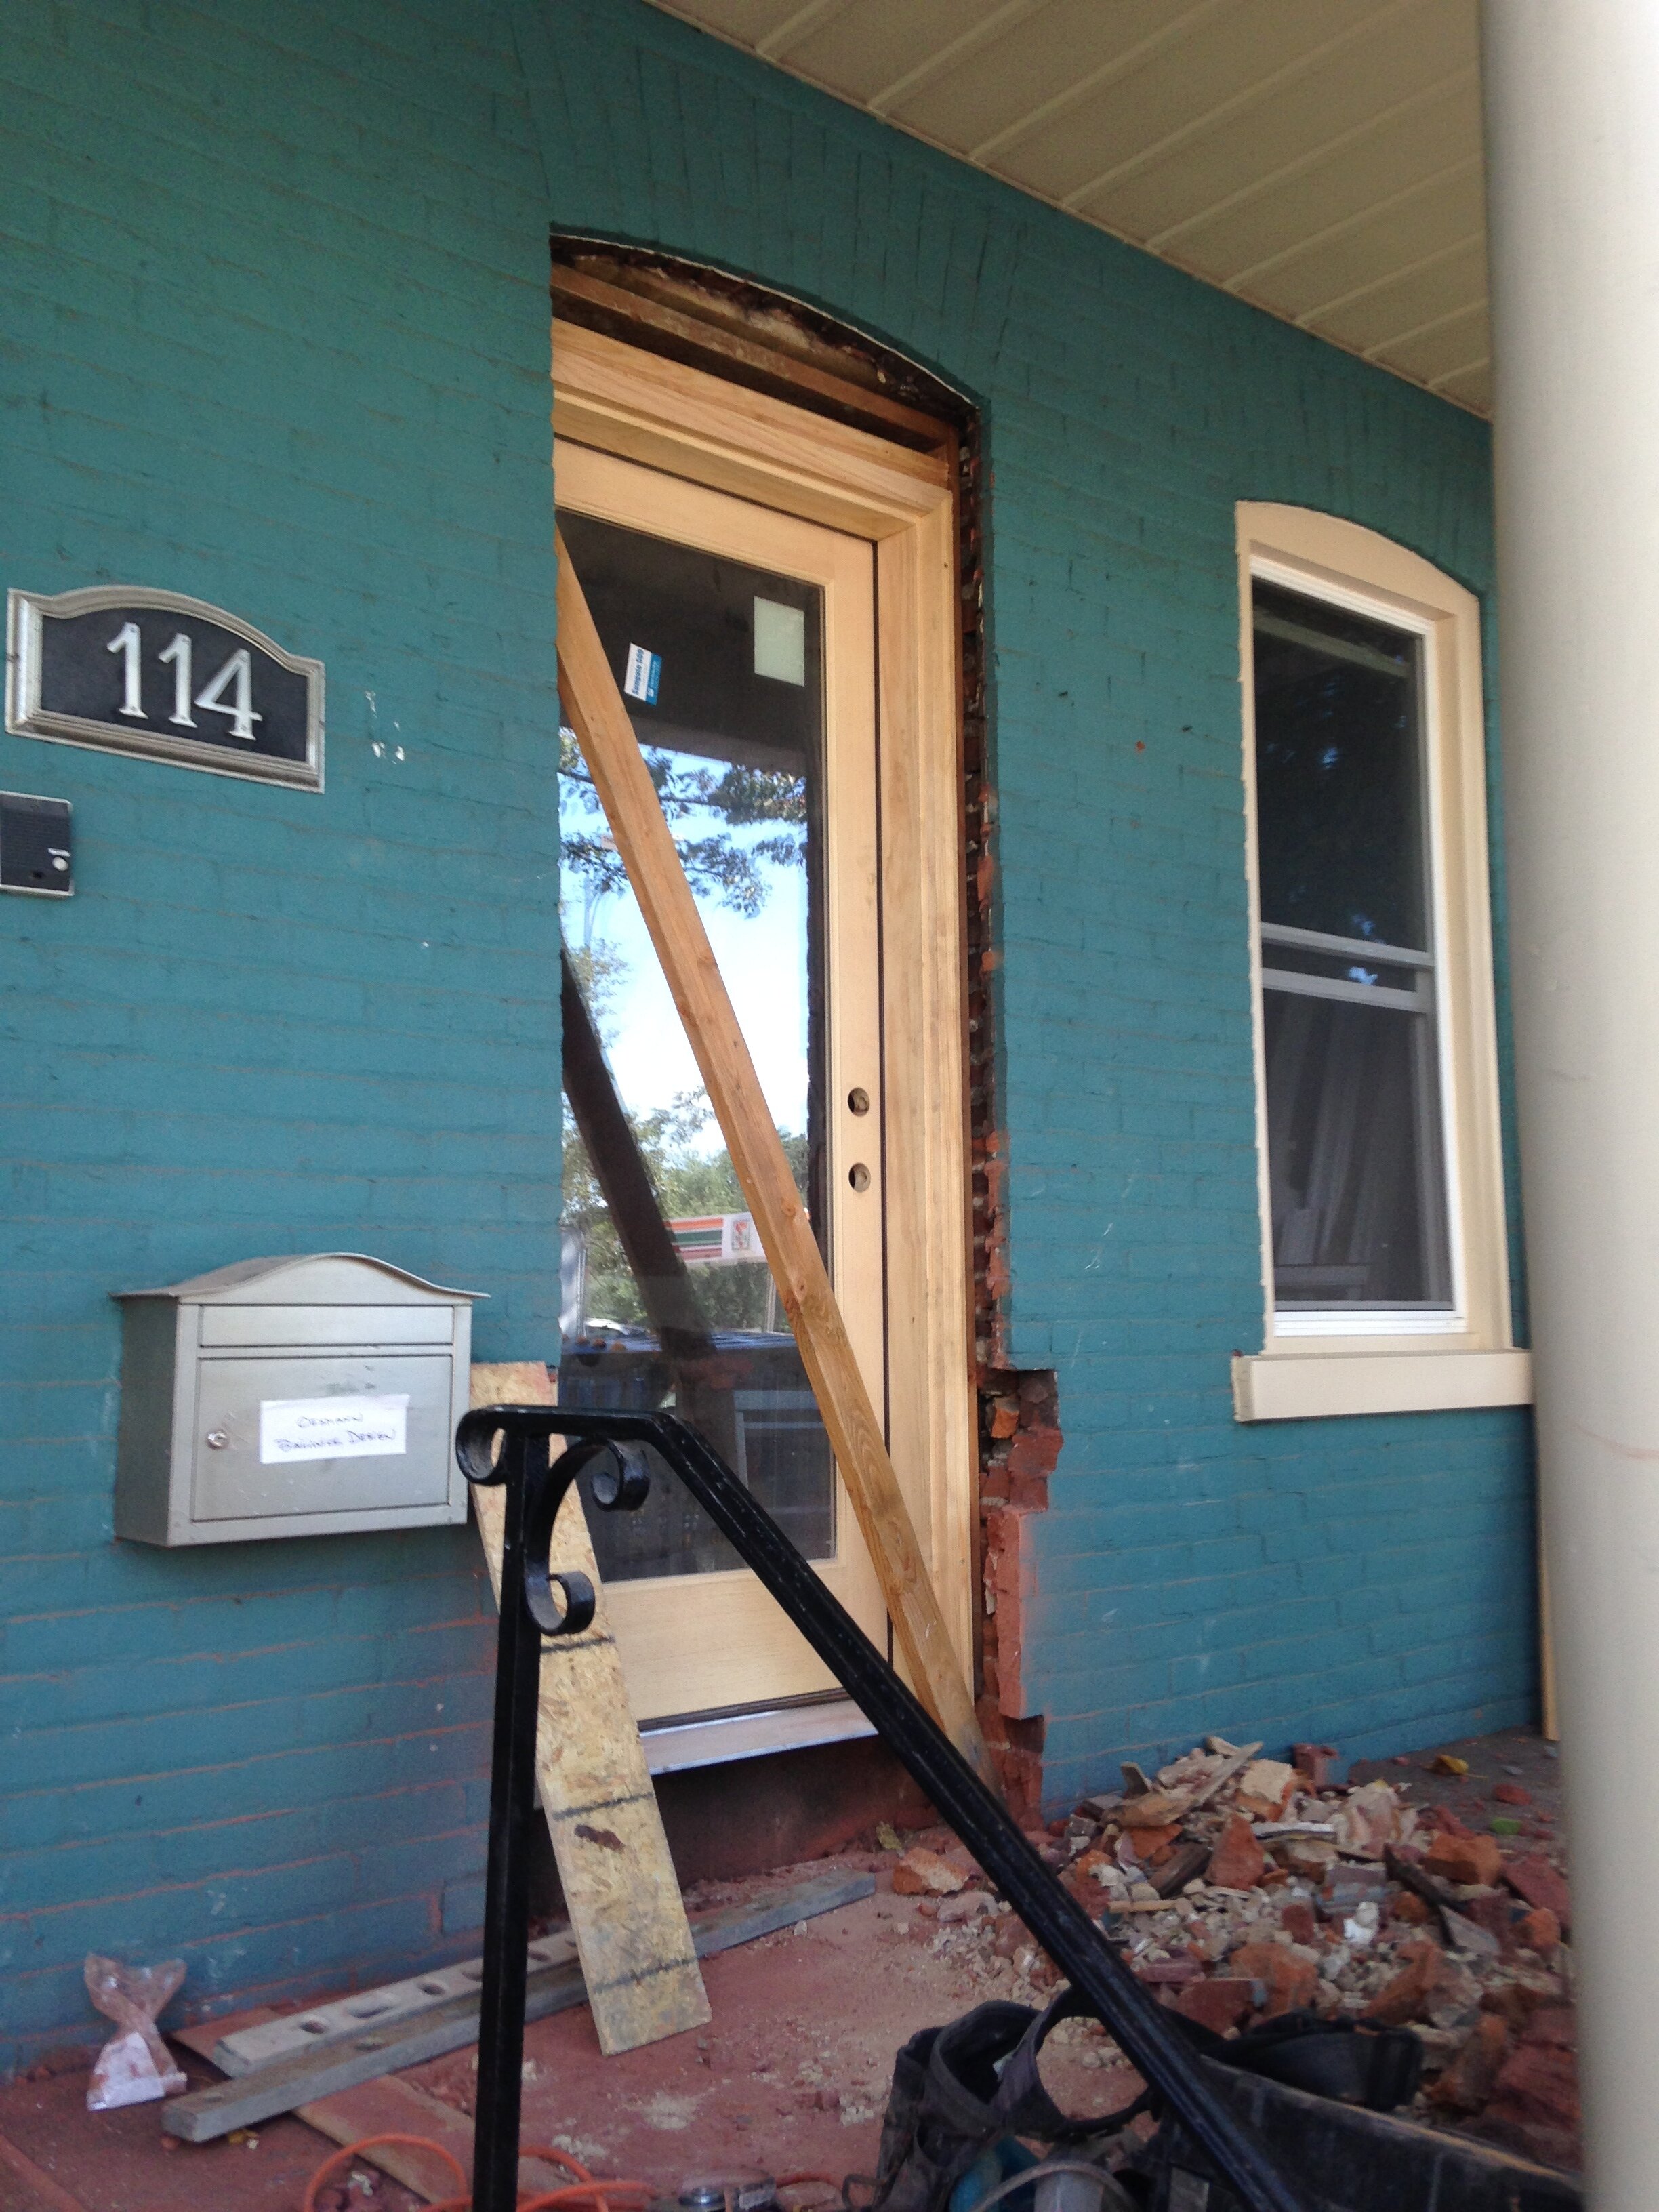
Looking out the front of my studio - the window on the right would become the private entrance door
Fortunately we had a window that could be turned into a new entrance door into my commercial studio space, but the covered front porch and stairs meant we had to make up for the elevation changes. As with most historic home renovations, it was all feasible – it would just take some extra time, effort and planning. It’s paramount to plan and execute all the pieces of the puzzle ahead of time, especially when you are working with windows and doors. Functionality requires proper installation!

Another factor to consider was that we wanted the door to look just as original – on the inside, too! So I copied the trim work of the existing front door and we were able to find enough pieces of salvage old-growth American Chestnut to use here. To save money I would do the final staining and painting of the new door myself - while I was refinishing the existing front door trim – just add it to my To-Do list!
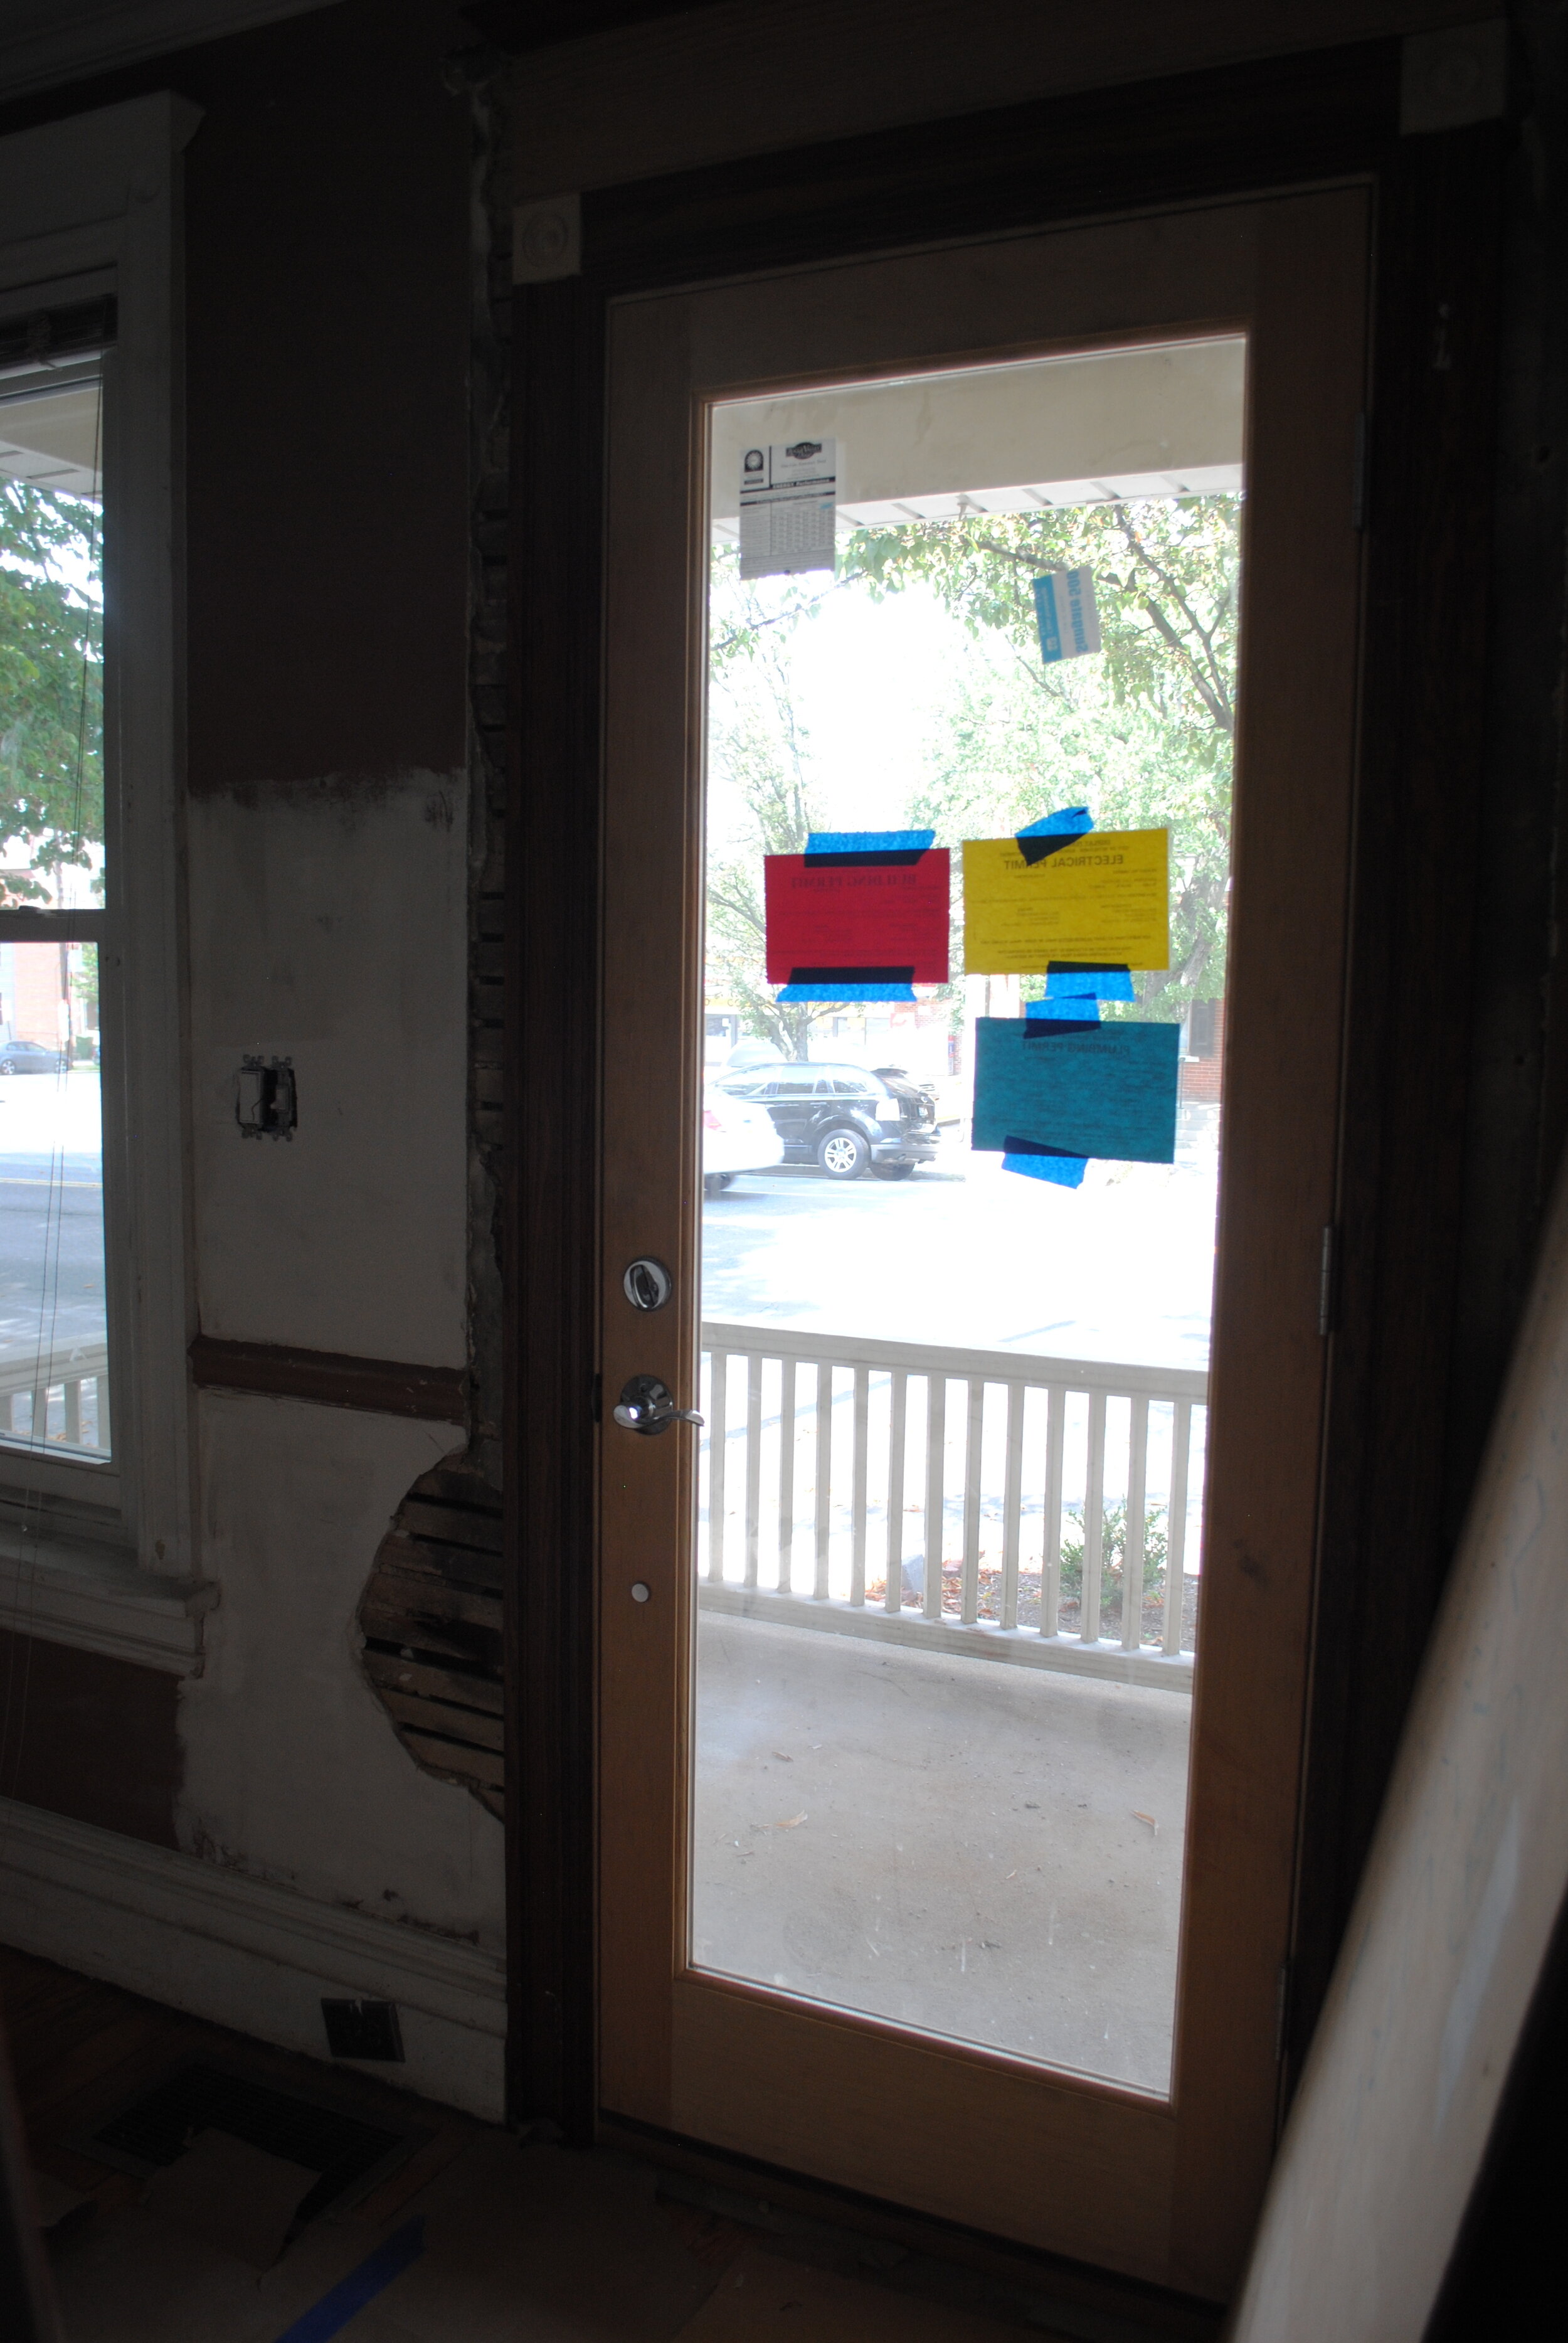
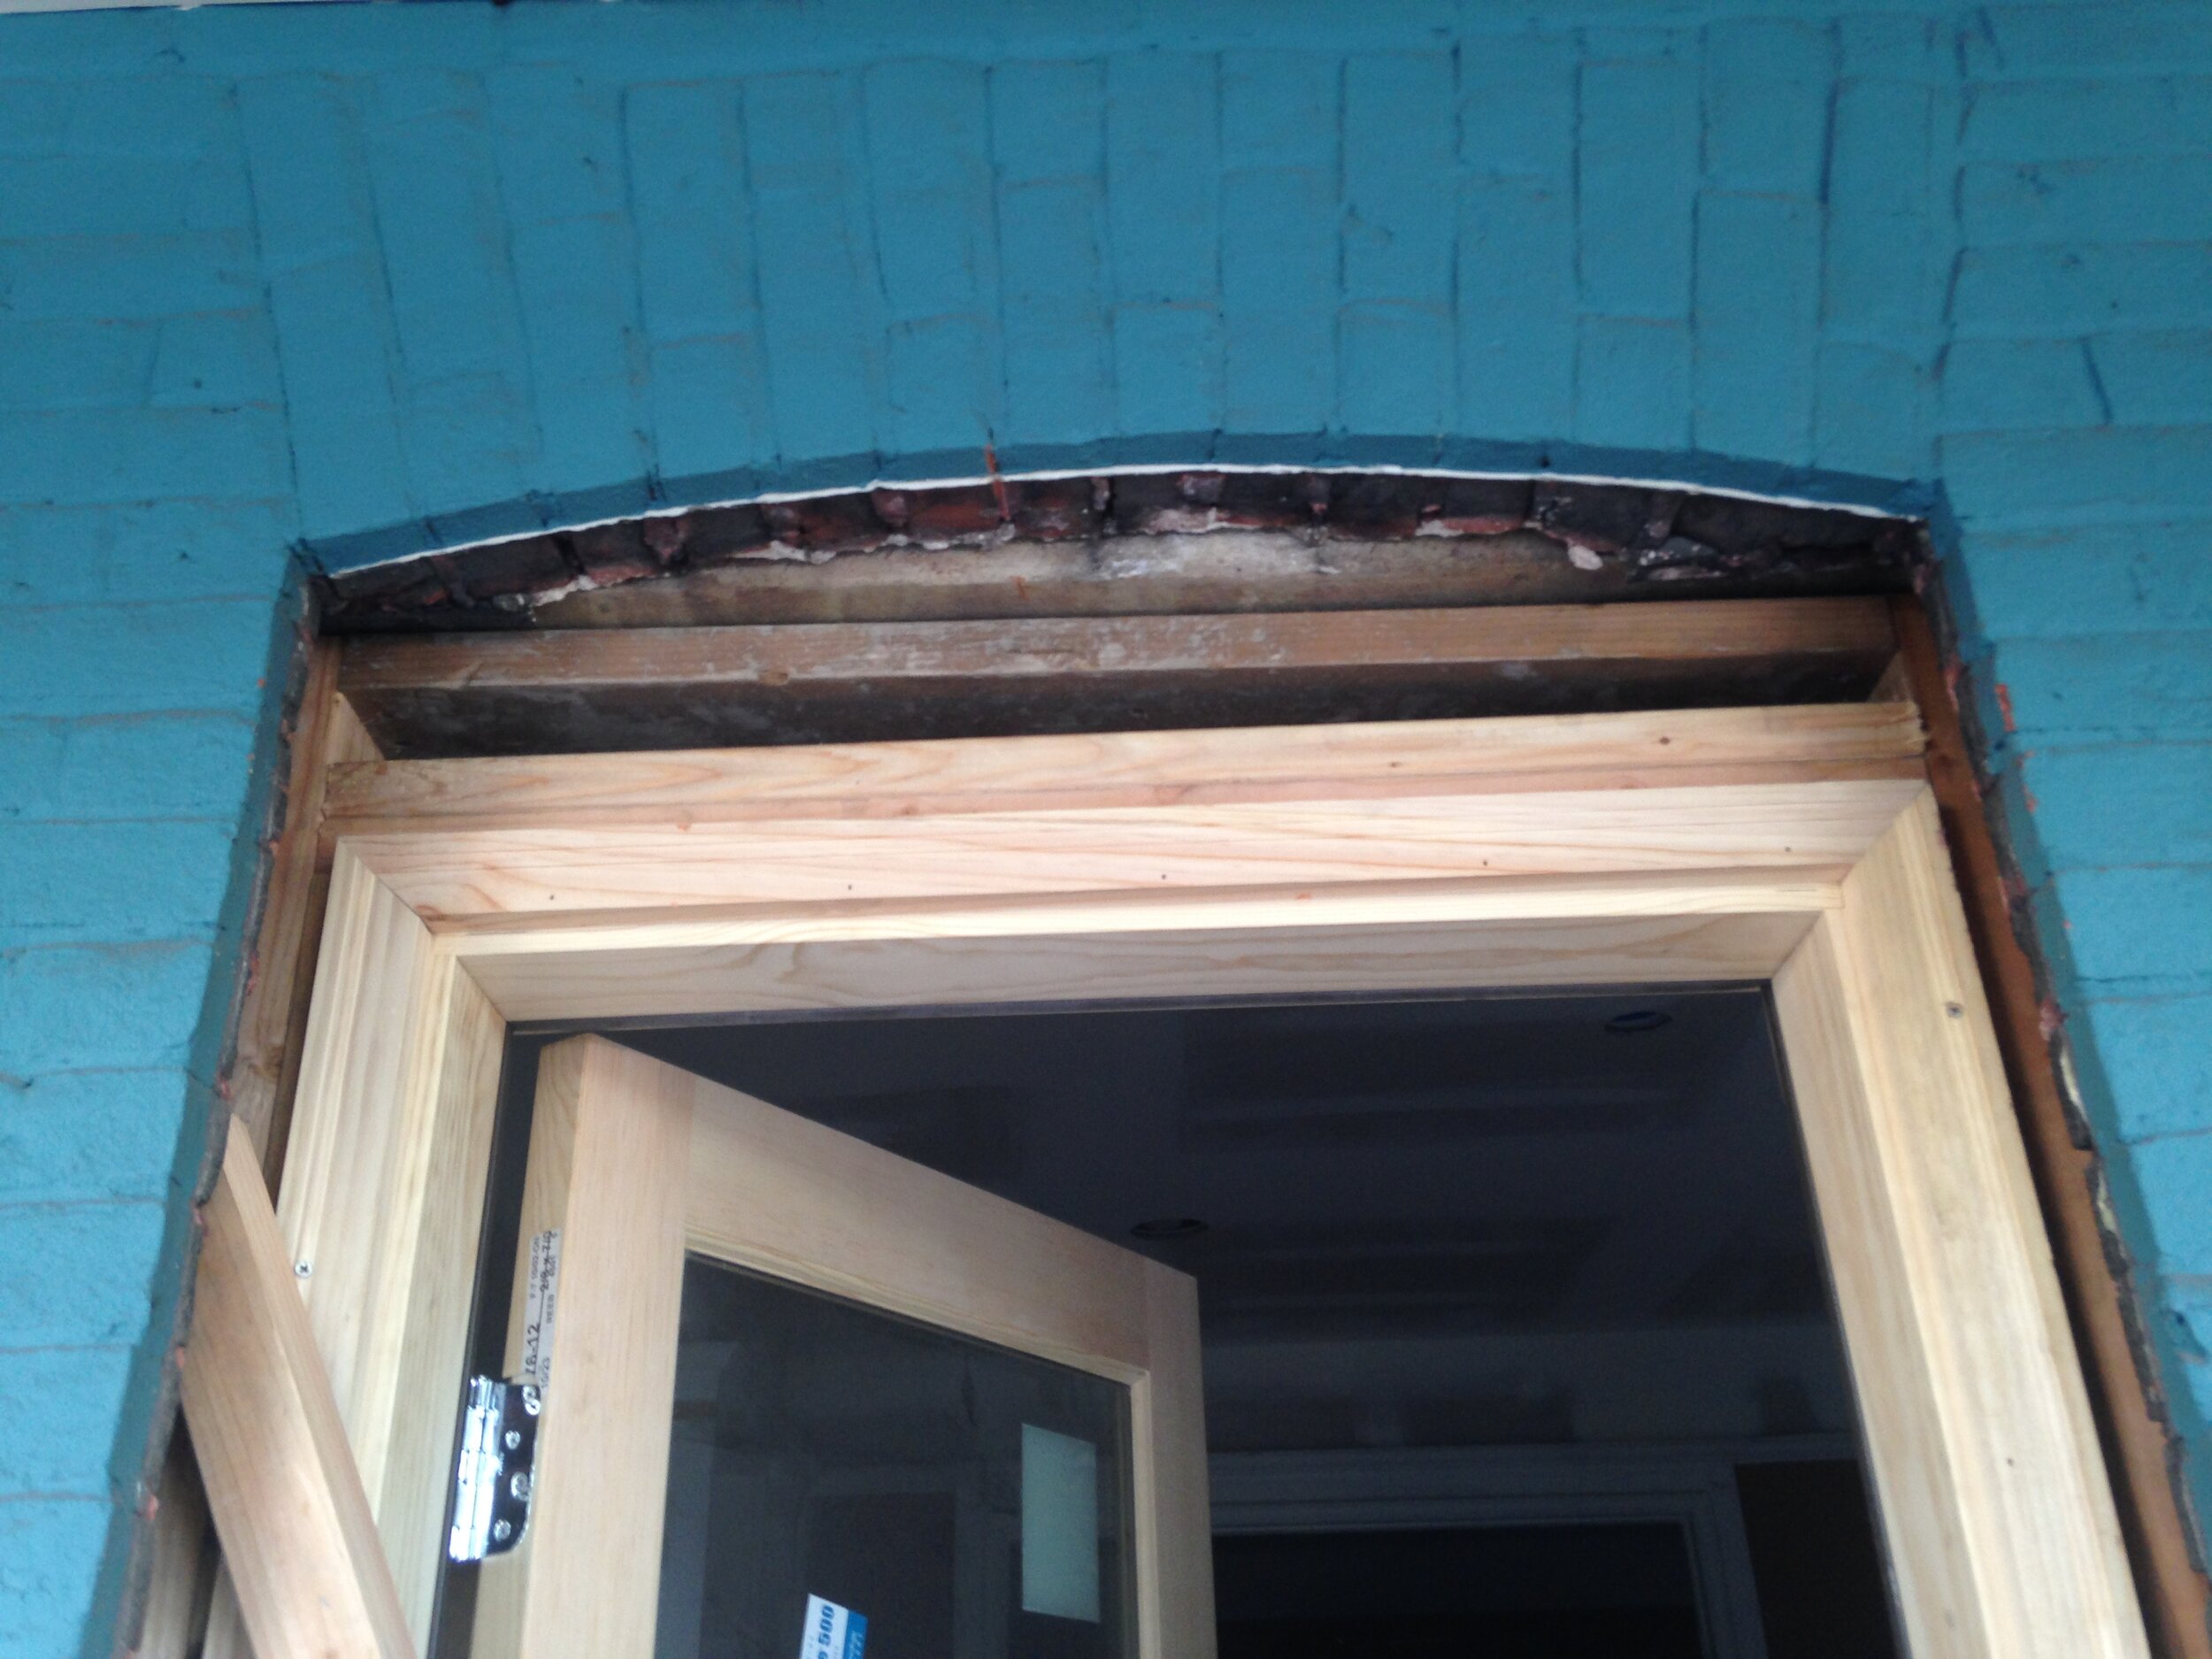
The new entry door before we add trim

Piecing together original and new trim
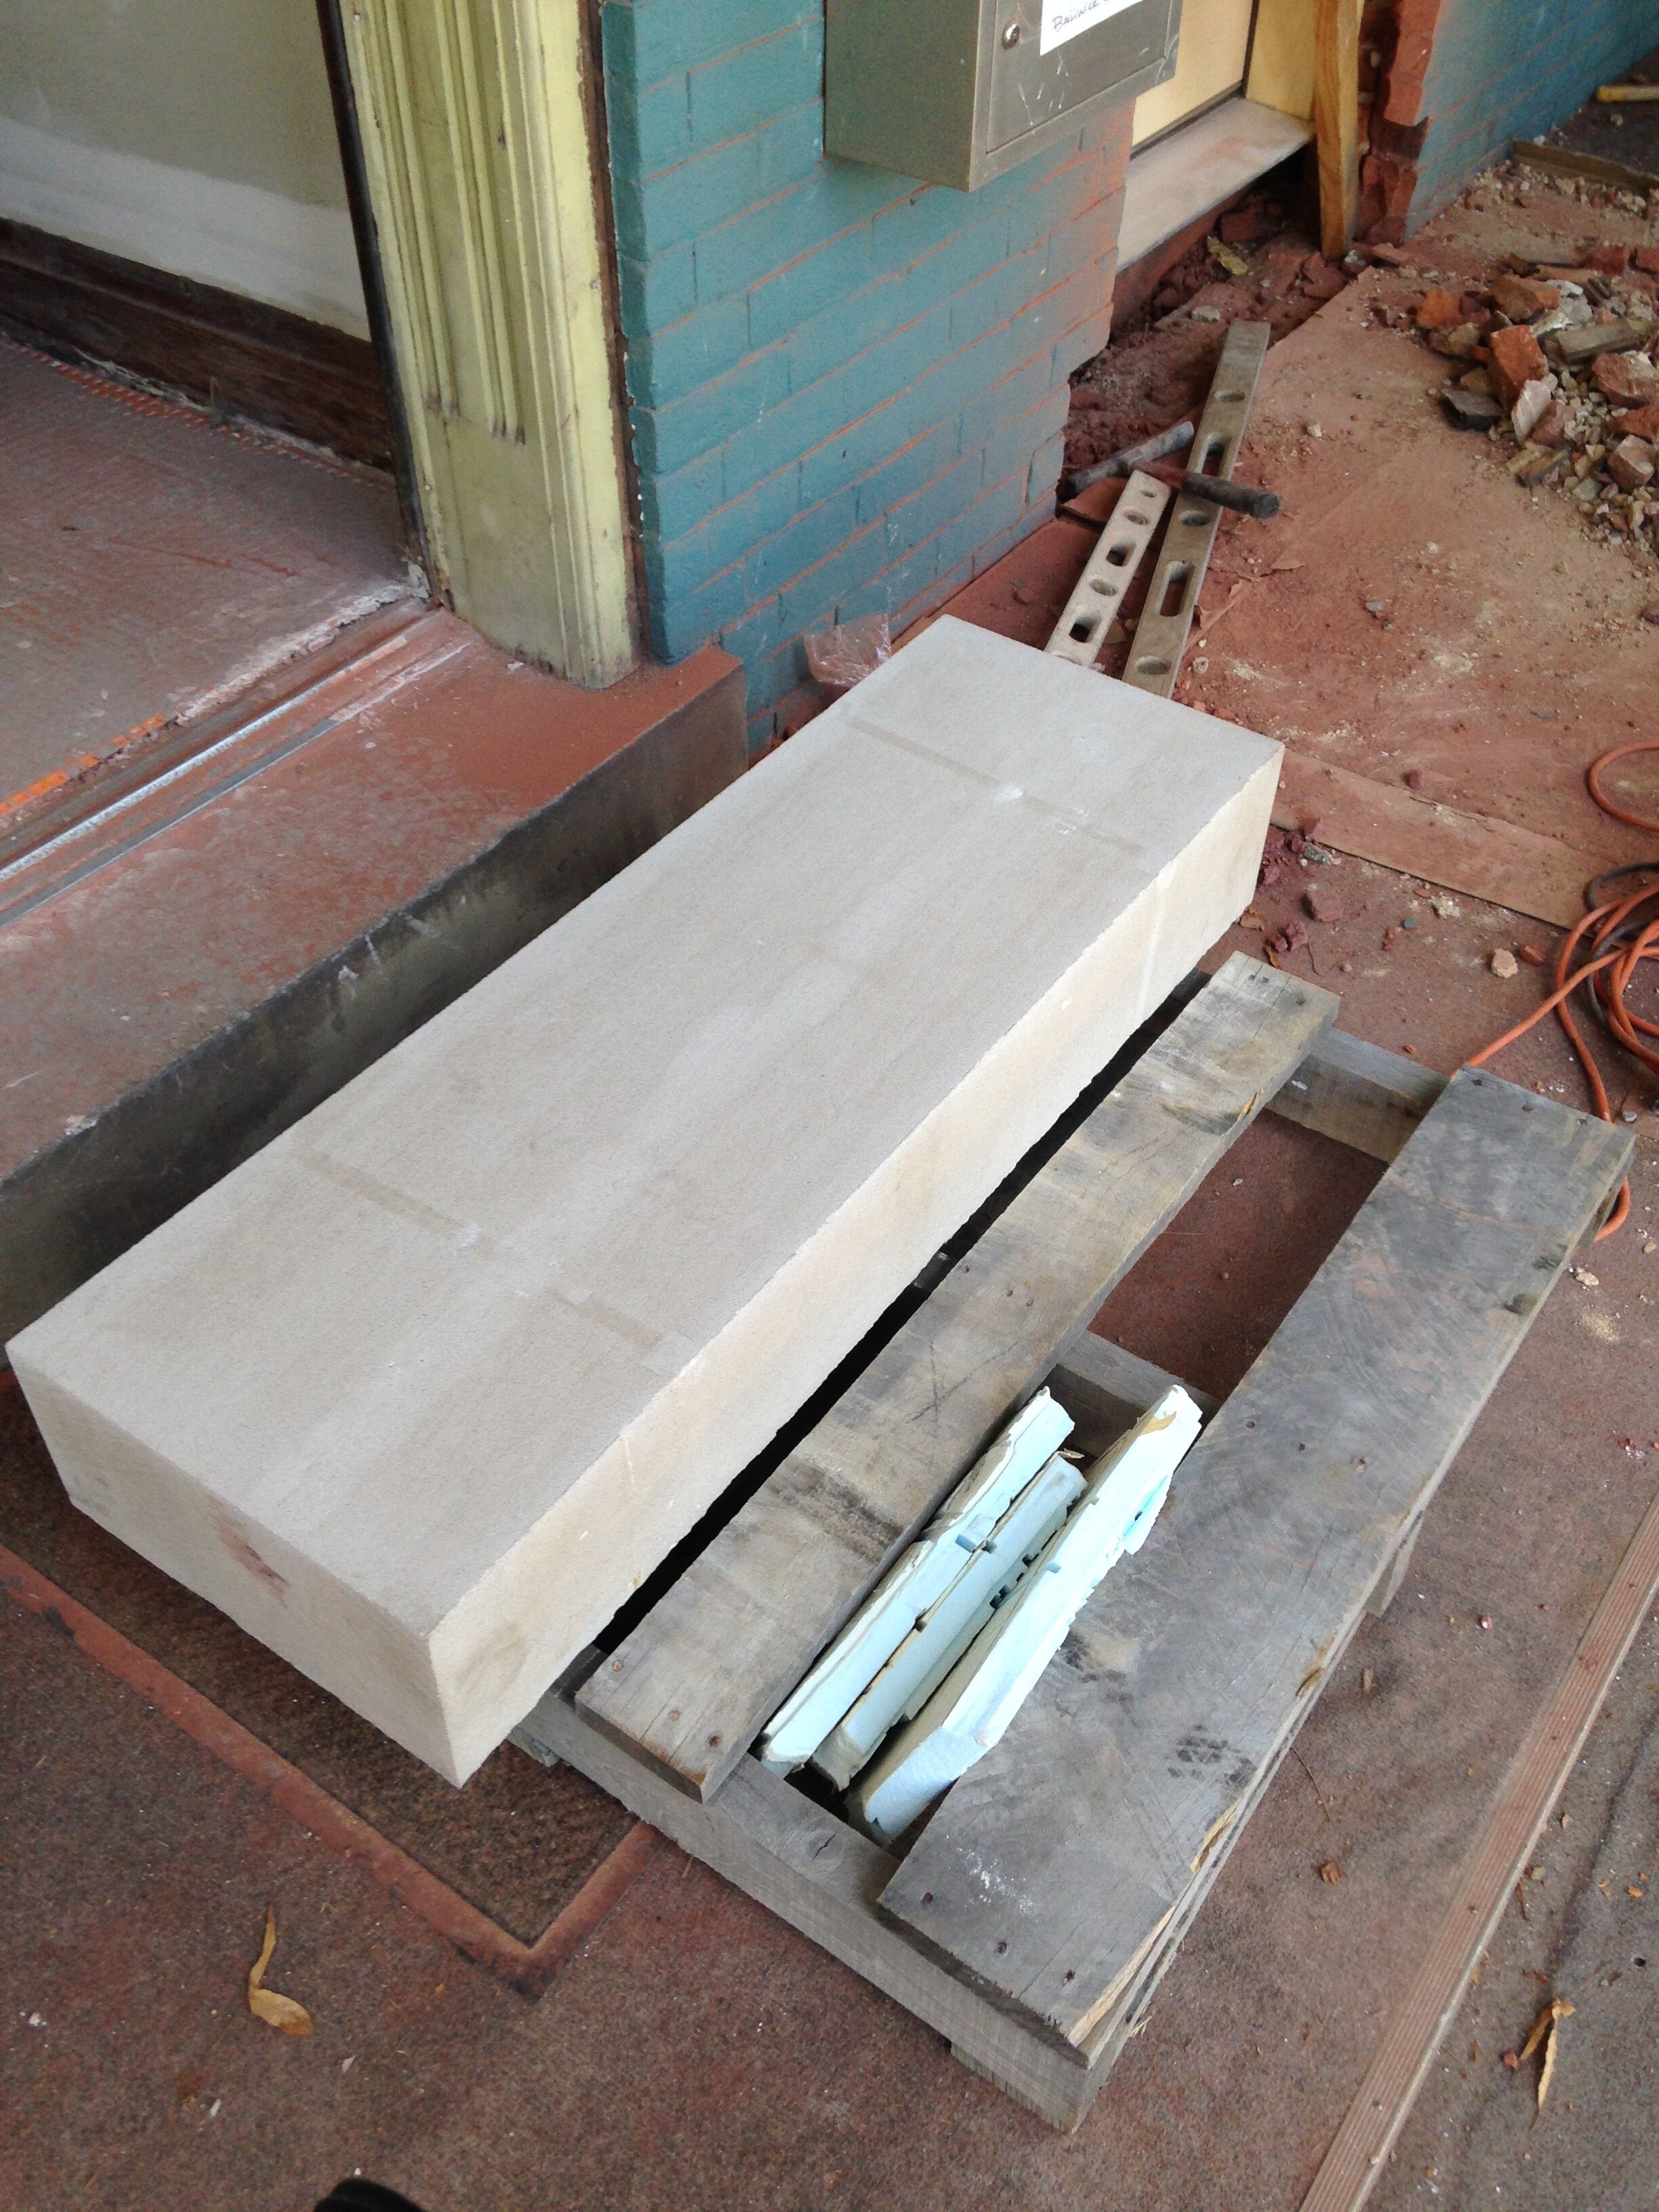
But the last piece of the puzzle was a stone step that I lovingly refer to as “the most expensive “rock” that John has every bought me!” Because the original front door had a limestone step, we needed to do that same for this new entrance door to match. This was a special order and took as long as the new door to arrive.
This is where it is really important to find a truly qualified craftsperson to work with you! Not only did we want to install this new door into an existing window opening, but we wanted it to look original to the home! At the same time we were hoping for minimal damage to the front exterior brick. I had started to get used to the teal brick colored paint – plus it was still in really good shape.
“Not only did we want to install this new door into an existing window opening, but we wanted it to look original to the home!”
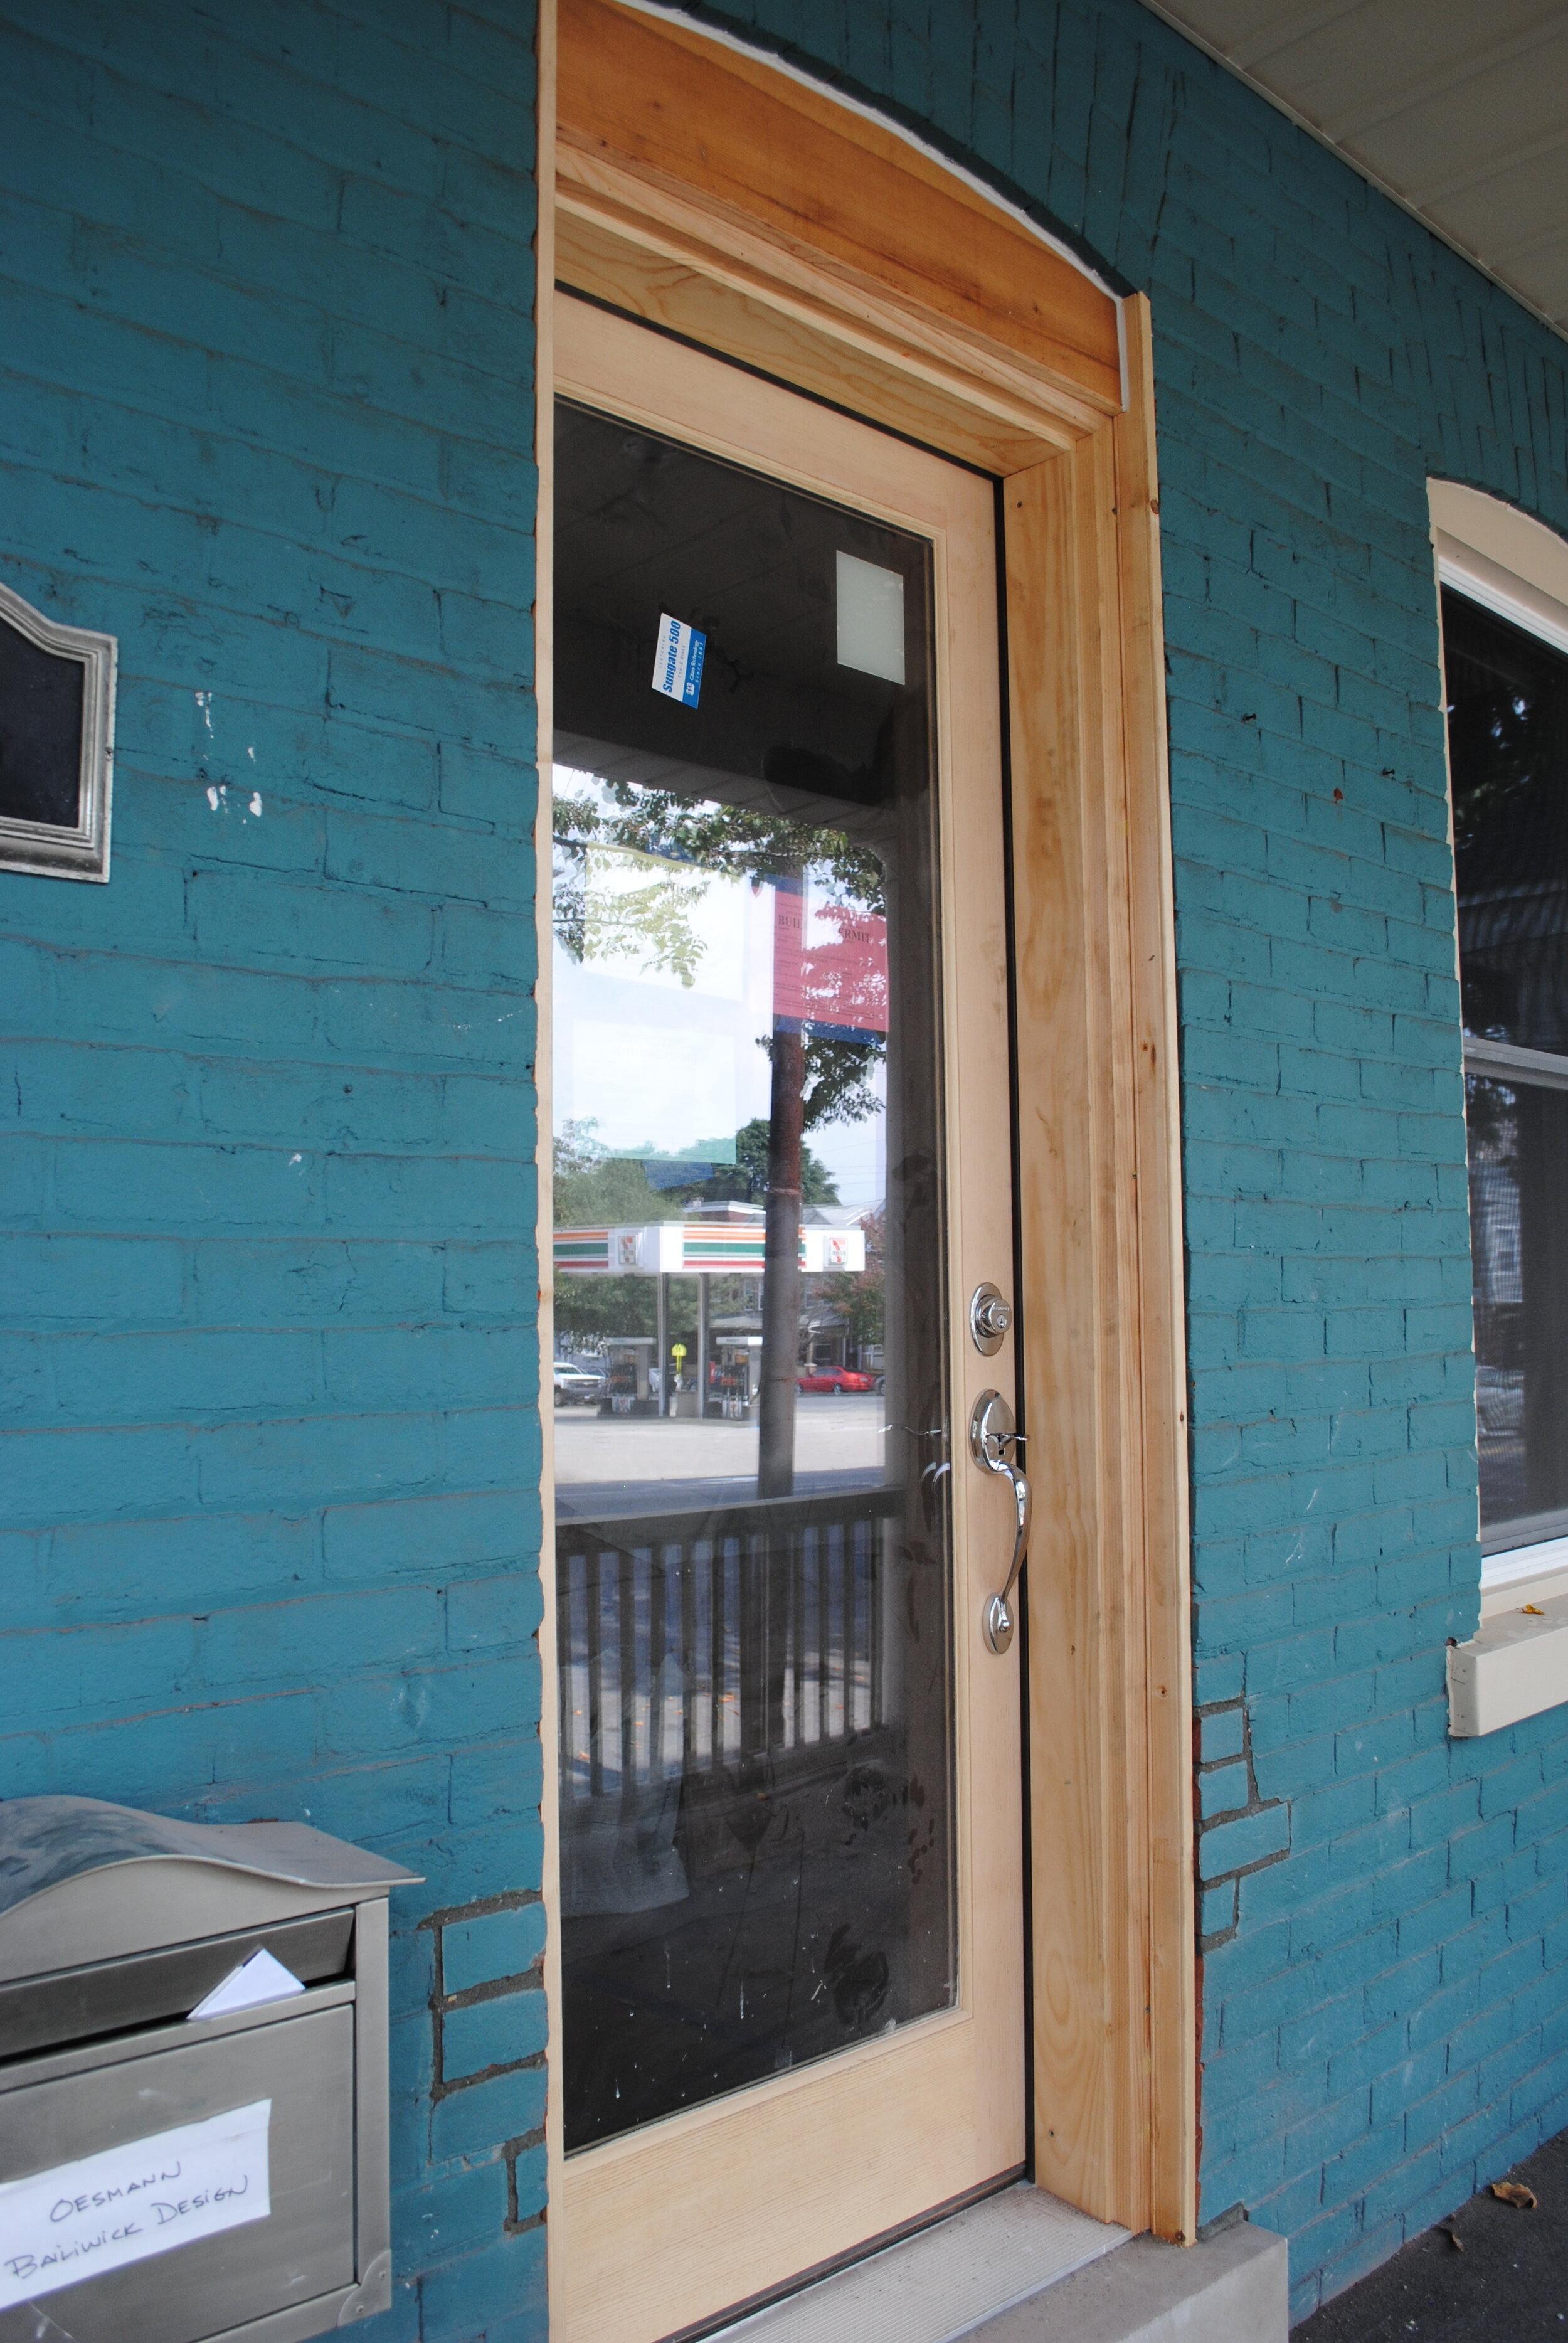
The solution was to have the carpenter and the mason there at the same time! It was a beautiful dance that went something like this; first removing the existing window (carpenter), enlarging the window opening in the brick wall (mason), framing and installing the new door (carpenter), installing the limestone step and finishing up the exterior brickwork (mason), installing the interior trim and exterior trim (carpenter). Of course, these tasks had to be done in sequence, otherwise we could have had an open hole in the front of or house for weeks! I am thrilled we were able to match the existing architectural details so well. It looks as if this new front door has been there for 100 years!

The new front door into my studio - check that off the list!
Do you like getting my bi-monthly tips and insights? FOLLOW BAILIWICK INTERIOR DESIGN on INSTAGRAM for EVEN MORE GREAT INFO!