
DIY - Reclaimed Lumber Ceiling
As with any home renovation, budget can be a major deciding factor. Part of my job as a professional interior designer is to guide my clients in the best way to achieve their goals and visions, while at the same time getting the most bang for their buck! And my own renovation of our circa 1905 brick row house was no different, in essence I was my own client.
We had come across so many unforeseen expenses that I needed to finds creative ways to save money. Since most of these extra hits to the budget had come from the Kitchen renovation, I decided to start there. We had successfully removed an interior wall and rebuilt an exterior wall of brick. We had improved the structure by adding a steel I-beam and a LAM beam and added “sisters” to all the joists in the ceiling (which had been cut and compromised by one of the previous owners) and we had redone all of the plumbing. With the cabinet design complete and the StyleCraft custom cabinets ordered, we were ready to start putting everything back together. (Check out my entire collection of home renovation blogs!)
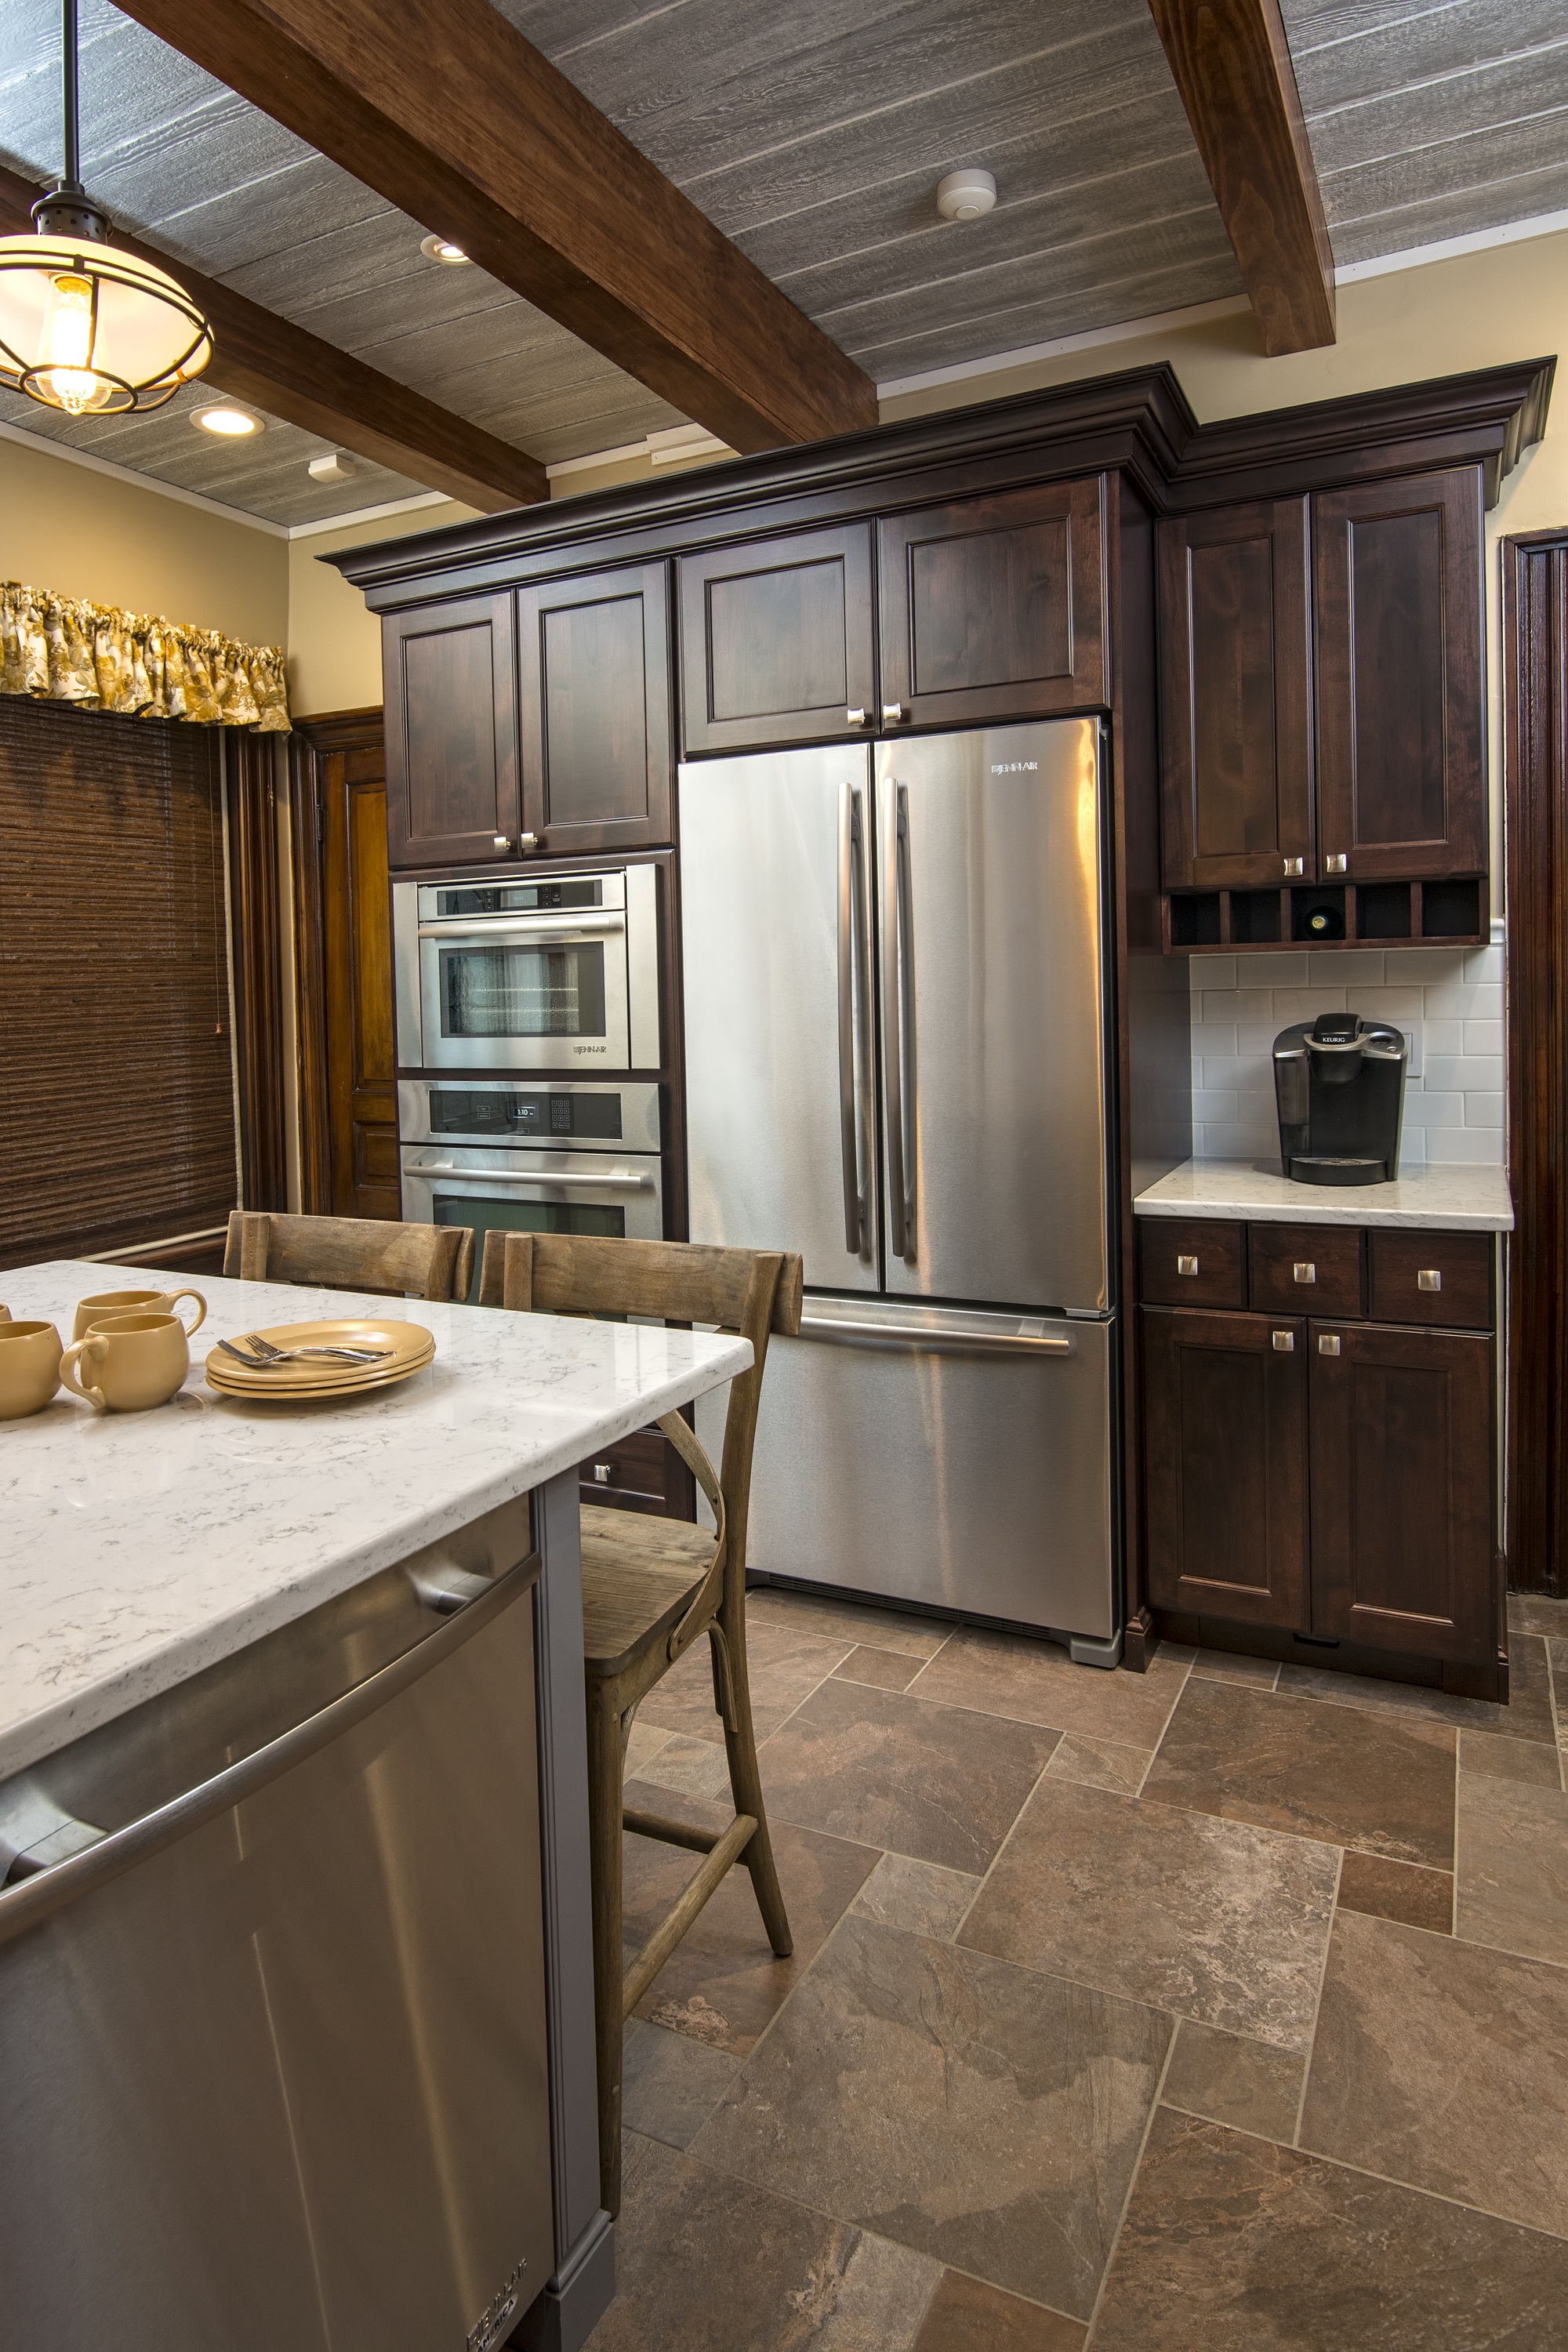
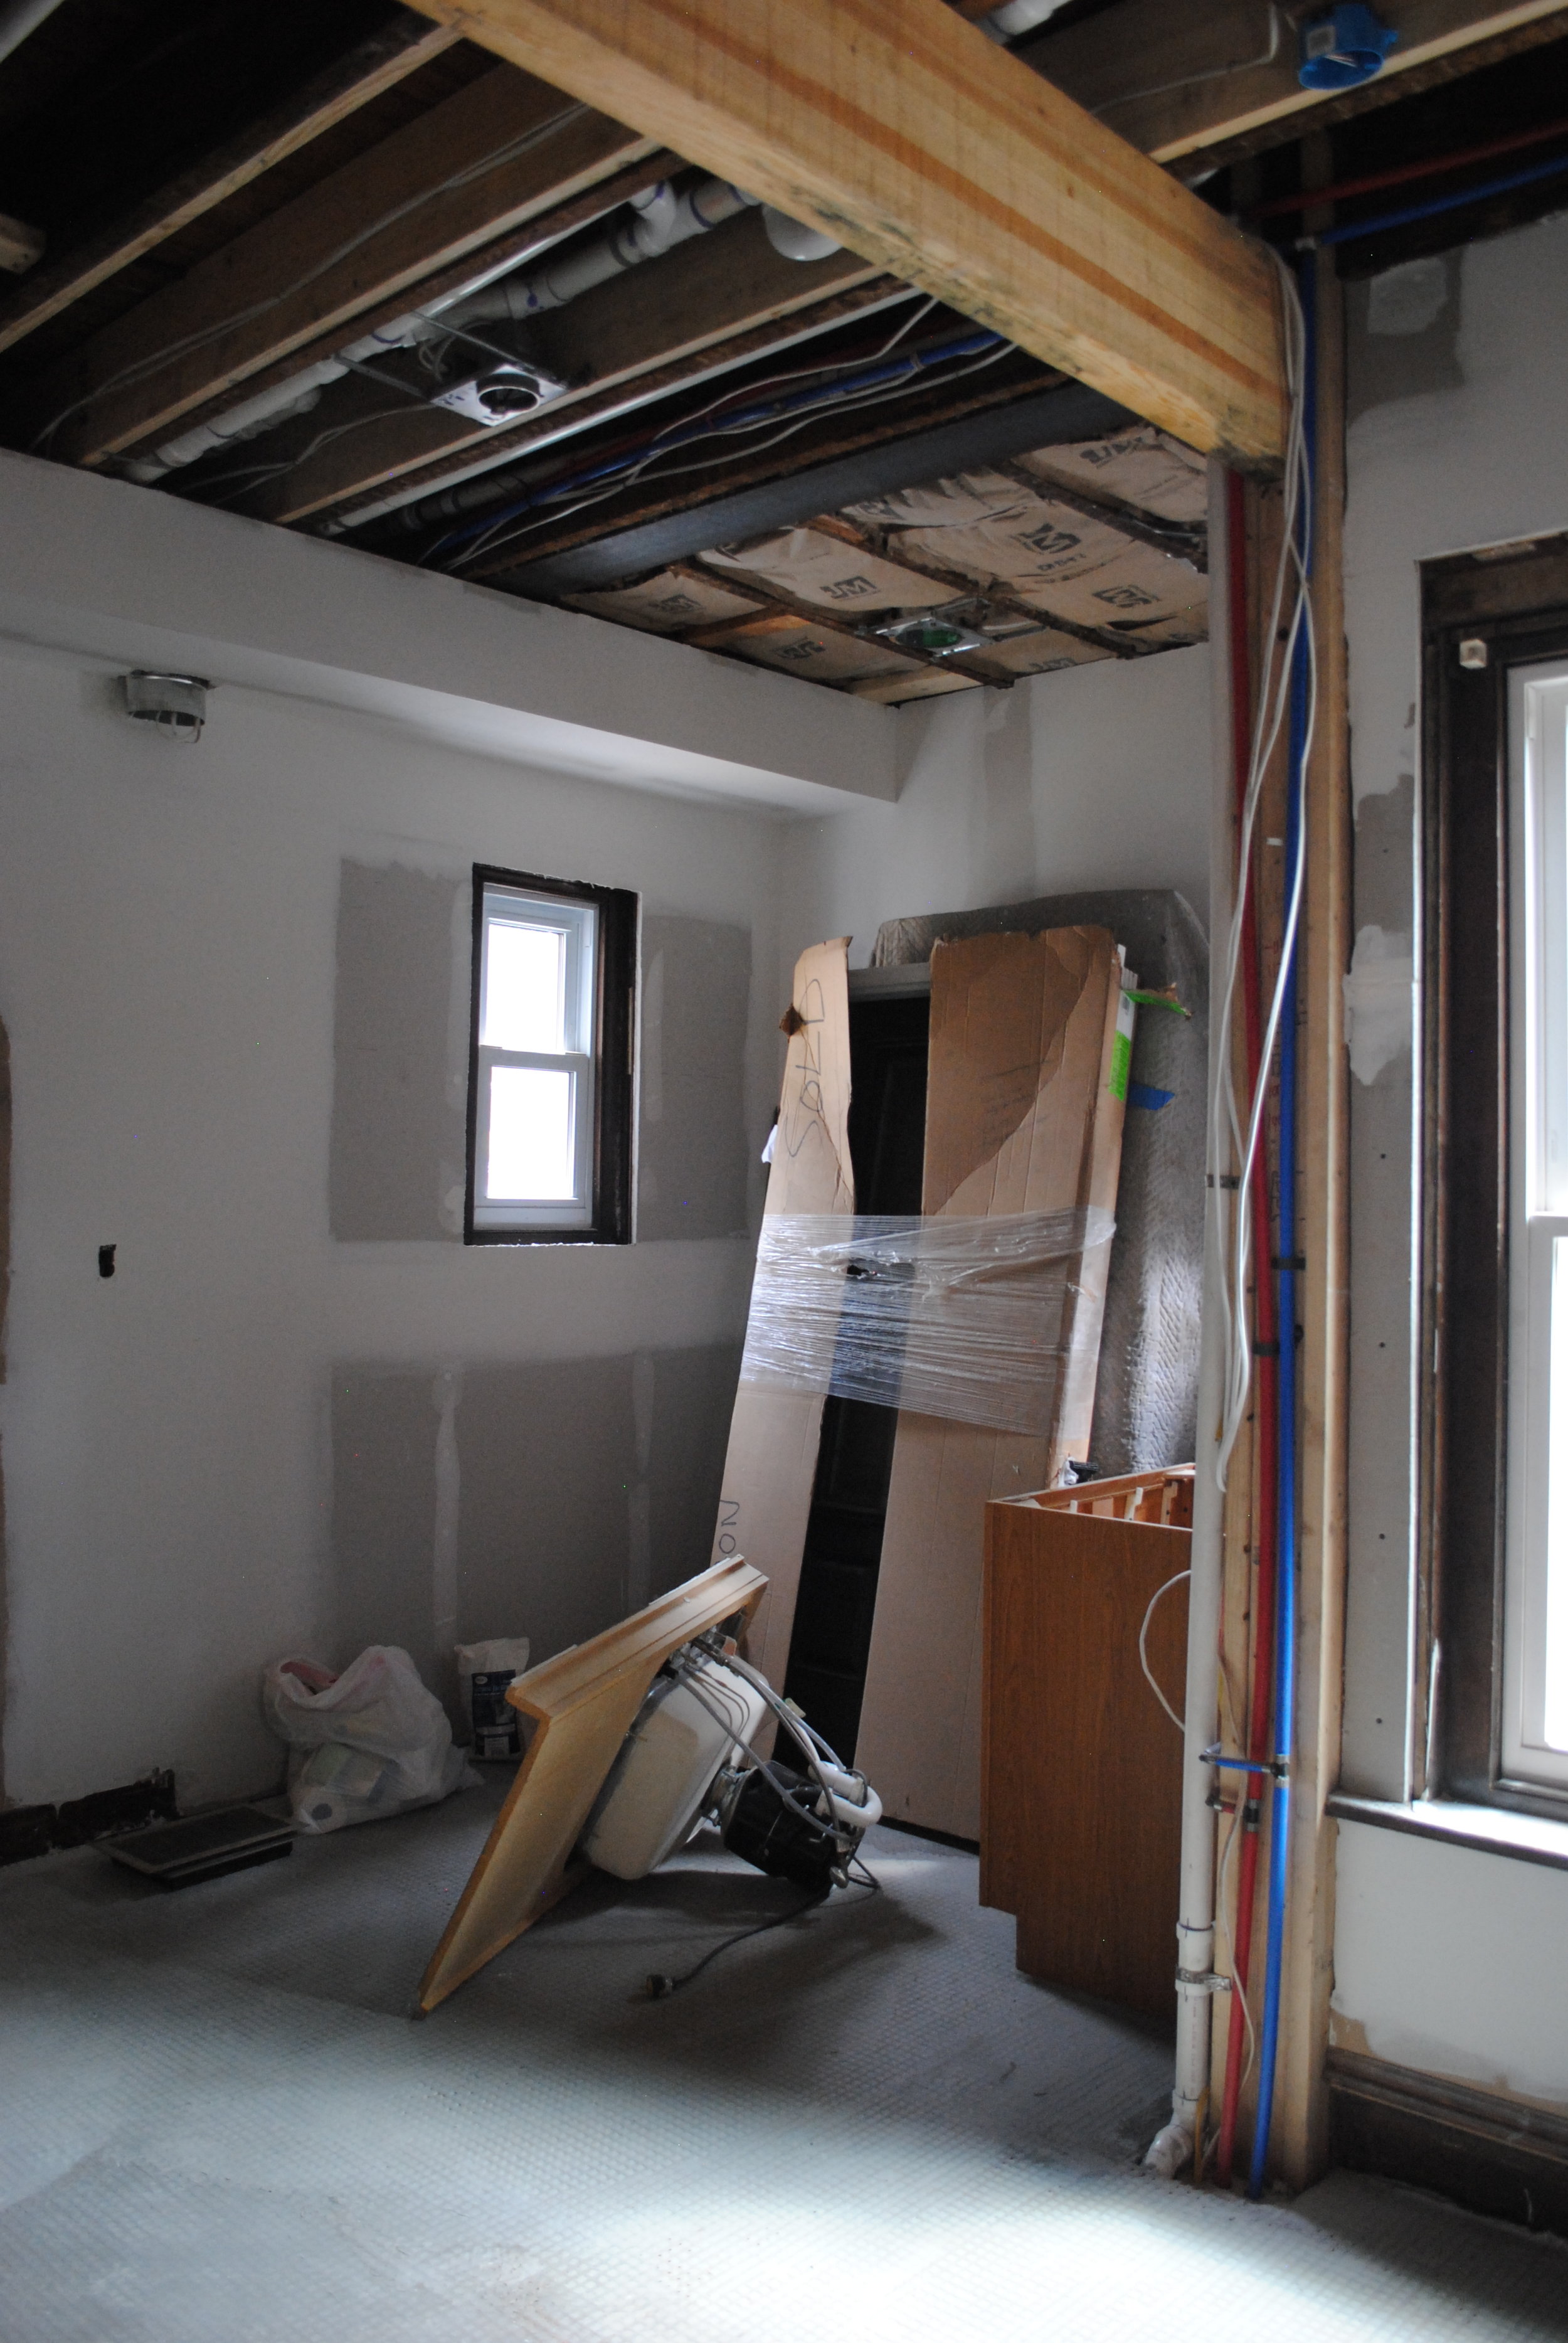
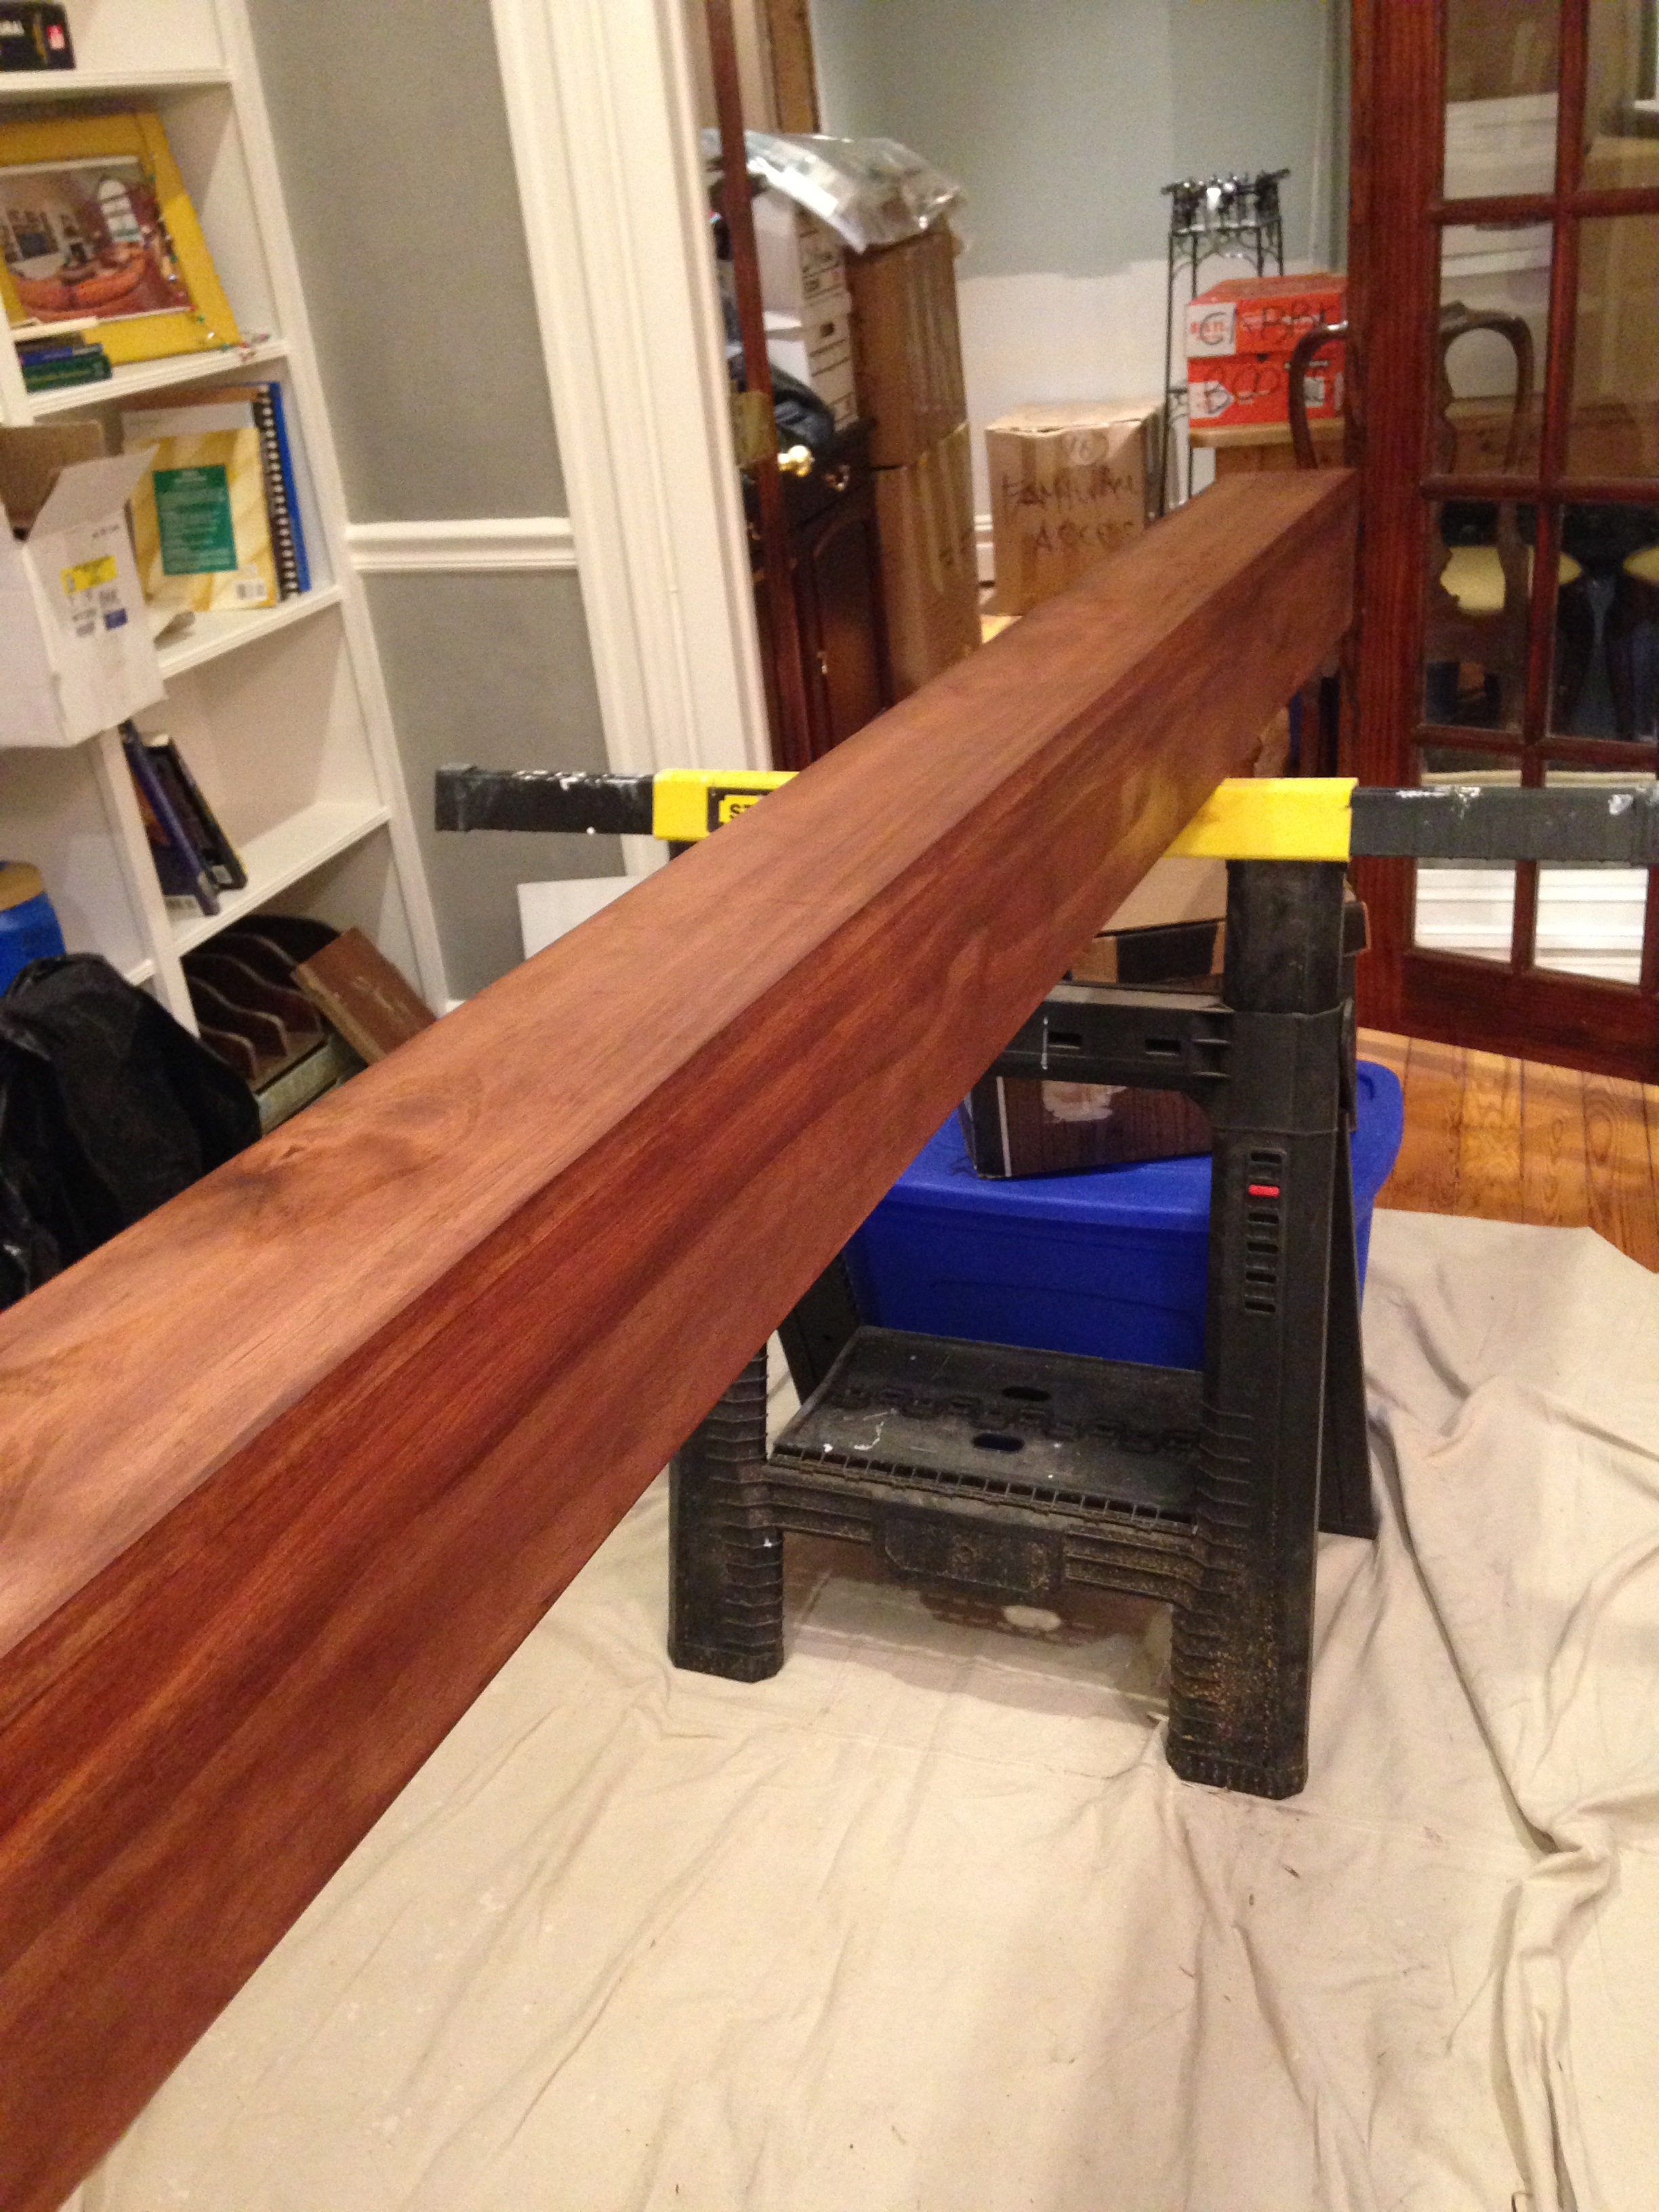
My concept was to contrast the fine cabinetry with a rustic style ceiling to pay homage to the age of the property. Originally I had wanted install a combination of antique beams and reclaimed lumber planks, but that would have been another hit to the budget. So I came up with a plan to deliver a similar look, but at a fraction of the cost. Since my husband John is very handy (and getting handier every day) we decided to box in the LAM beam AND add two more faux beams in the same wood wrap.
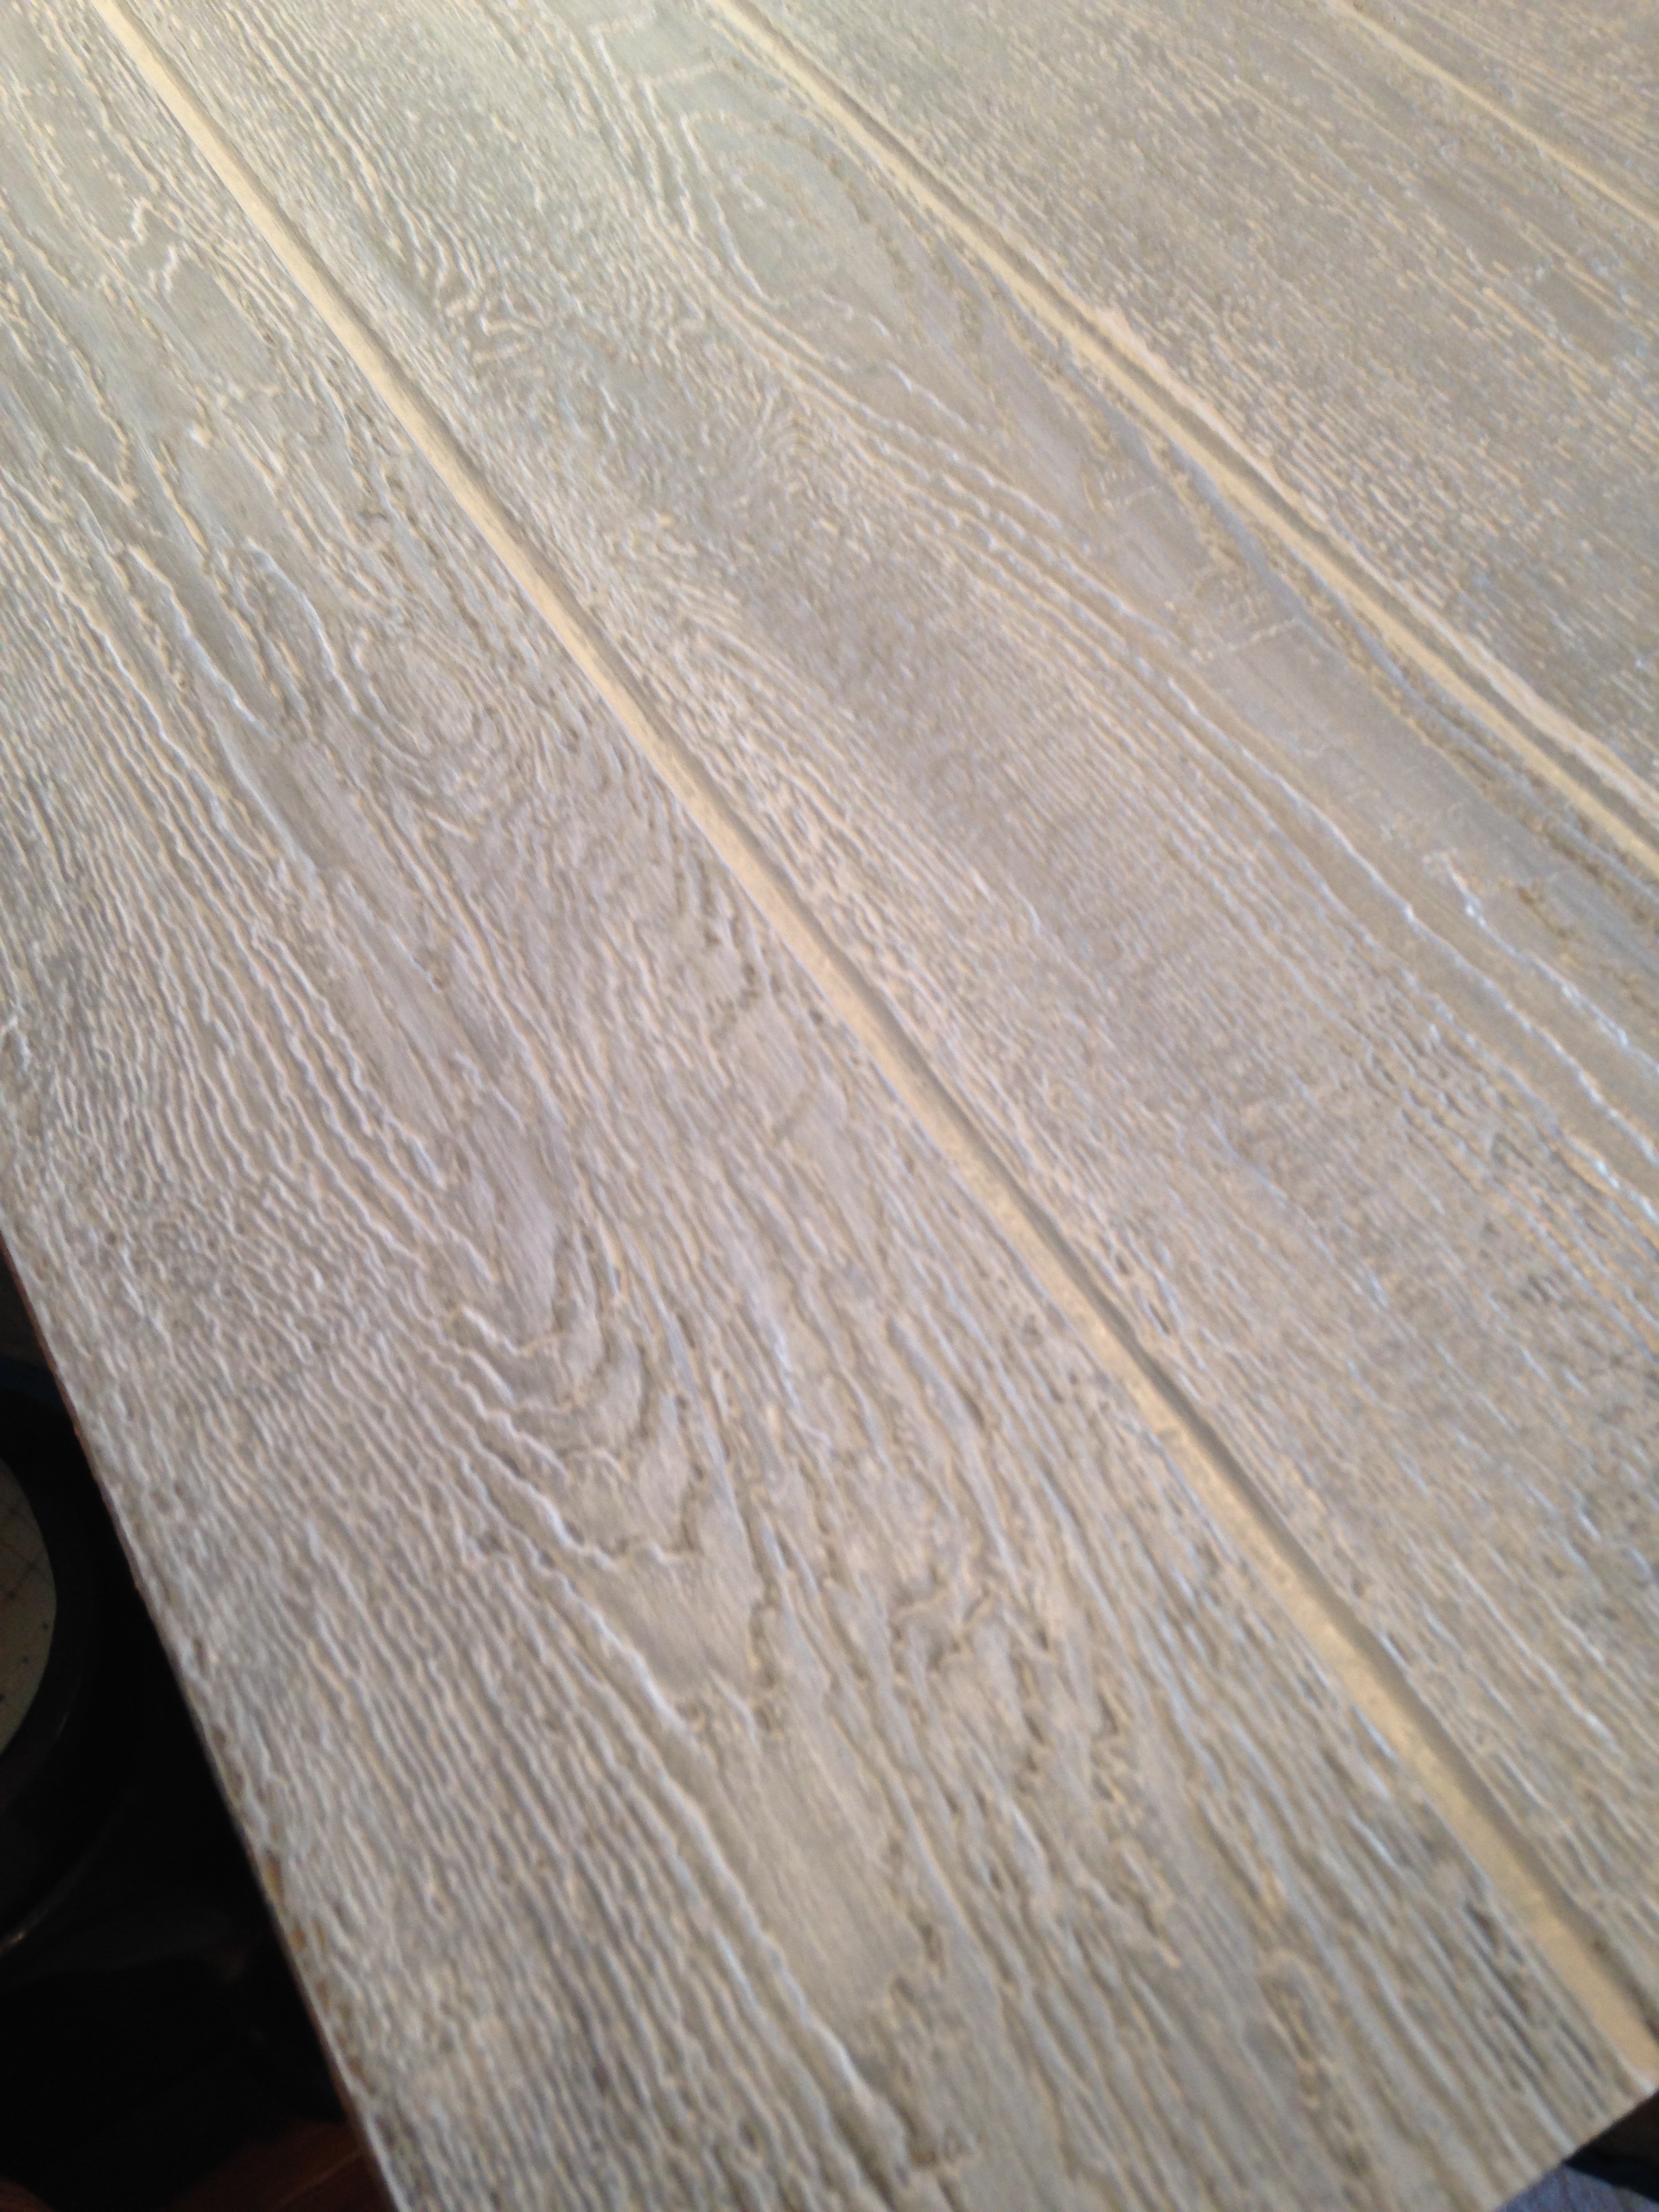
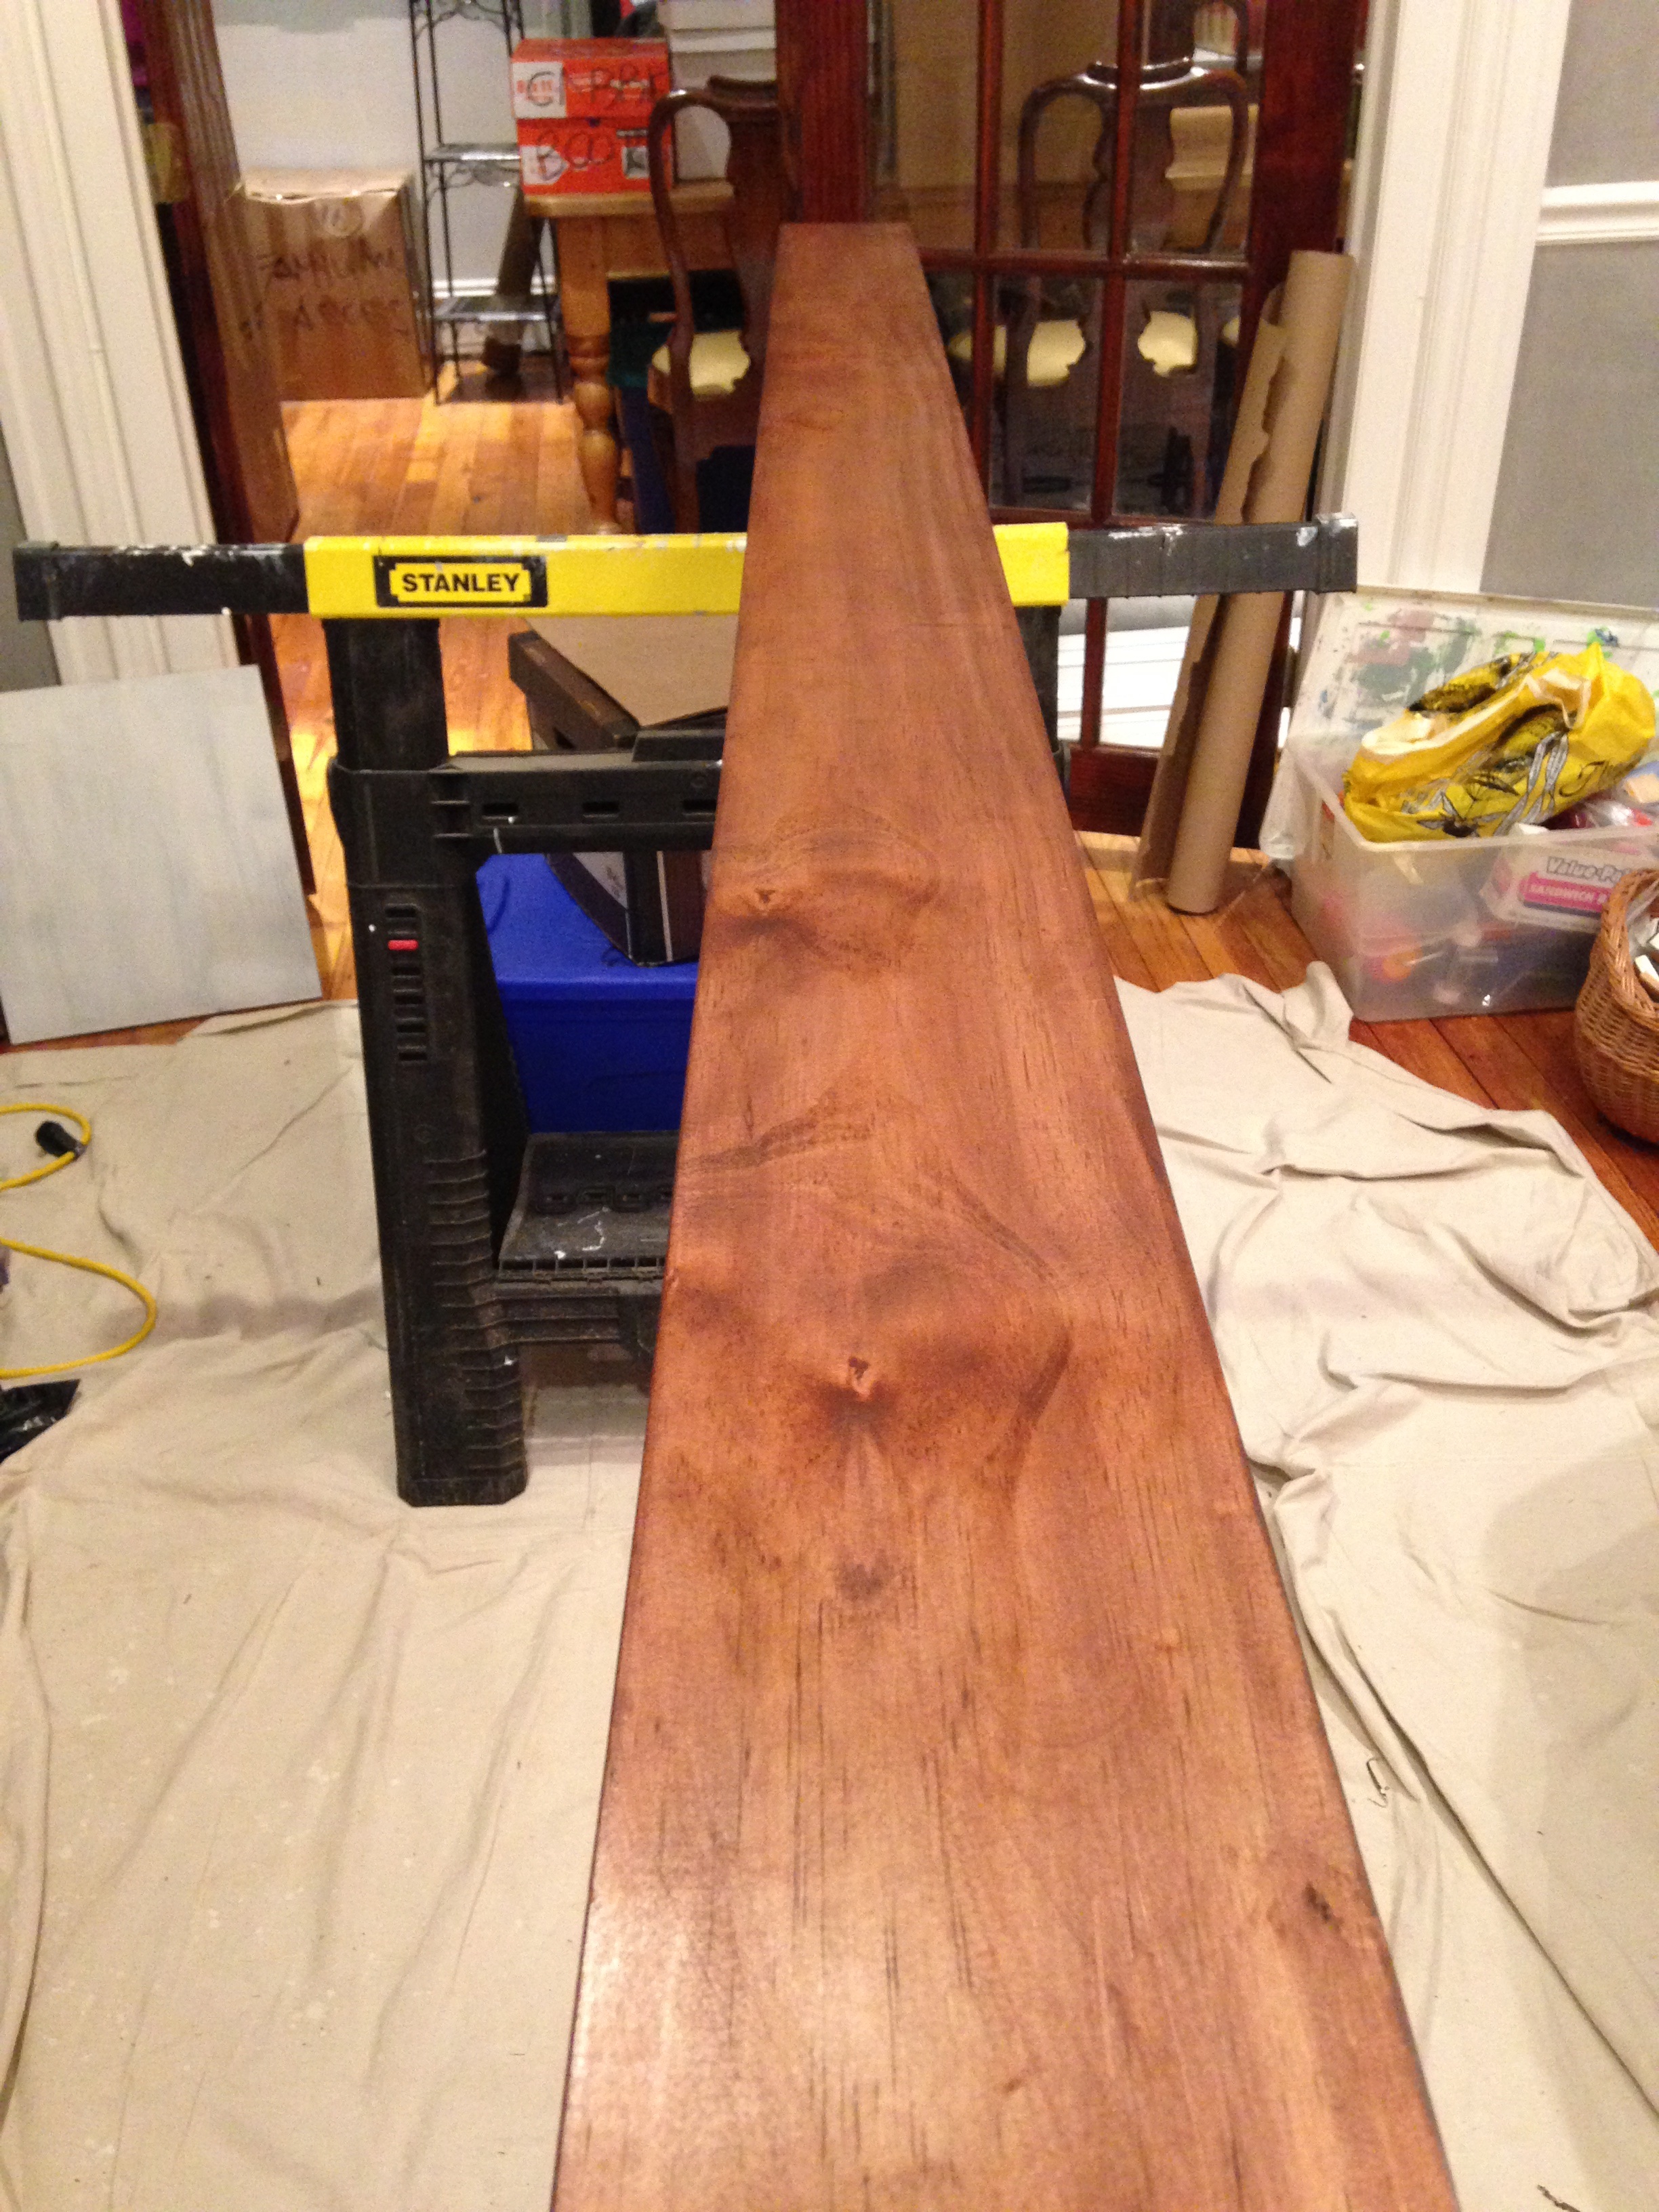
We had to special order the wood planks in the lengths AND quality that we needed. John created these “beams” using a Kreg Jig in order to hide the screws used to create the boxes. Think of it as a way to create pockets for the screws on the inside of the U-shaped wraps. I was in charge of stain and paint, so I used the same Minwax Gel Stain that I had used for the rest of the trim and doors of our house. Instead of reclaimed wood planks for the ceiling, I used a decorative painting technique on inexpensive T1-11 plywood barn-siding. This gave me the planking look I wanted AND I was able to fine tune the color palette, as well.